Over sixty percent of American homeowners in Central Florida will experience roof damage from severe storms within their home’s lifetime. If your roof is showing its age or has survived another round of heavy winds and rain, understanding where issues start can protect your investment and help stretch every repair dollar. This practical guide spotlights clear steps you can take to assess storm damage, avoid costly mistakes, and ensure your roof stands strong for years without emptying your wallet.
Table of Contents
- Step 1: Assess Roof Damage And Identify Issues
- Step 2: Gather Tools And Prepare Safety Equipment
- Step 3: Remove Damaged Roofing Materials
- Step 4: Install New Roofing Components Securely
- Step 5: Verify Repairs And Perform Final Inspection
Quick Summary
| Main Insight | Explanation |
|---|---|
| 1. Conduct a Thorough Roof Inspection | Regularly check for damage to catch issues before they escalate and save on repair costs. |
| 2. Ensure Proper Safety Gear | Use fall protection and safety equipment to safeguard yourself during roof work. |
| 3. Systematically Remove Damaged Materials | Carefully extract damaged sections to prevent further structural issues and prepare for repairs. |
| 4. Follow Installation Guidelines | Adhere to manufacturer instructions for secure and effective roof component installation. |
| 5. Perform a Comprehensive Final Inspection | Validate repairs and ensure roofing integrity with detailed checks and water tests. |
Step 1: Assess Roof Damage and Identify Issues
Your roof is the primary shield protecting your home from Central Florida’s unpredictable weather. Understanding how to accurately assess damage can save you thousands in potential repair costs and prevent further structural deterioration. A comprehensive roof inspection allows you to catch potential issues before they become catastrophic problems.
Begin by performing a thorough visual examination from ground level and then safely accessing your roof. Look for telltale signs of damage such as missing or cracked shingles, exposed underlayment, and granule loss on asphalt shingles. Pay special attention to areas around chimneys, vents, and skylights where water intrusion frequently occurs. Forensic roof investigations recommend examining all layers of your roofing system to diagnose root causes of potential leaks or structural weaknesses.
When checking for storm damage, inspect metal flashings, gutters, and downspouts for dents or impact marks. Hailstorms can create subtle damages that might not be immediately apparent. Look for circular or irregular marks on shingles, dimples in metal components, and collateral damage on surrounding surfaces like siding or window screens. Document everything with clear photographs from multiple angles to support potential insurance claims or professional assessments.
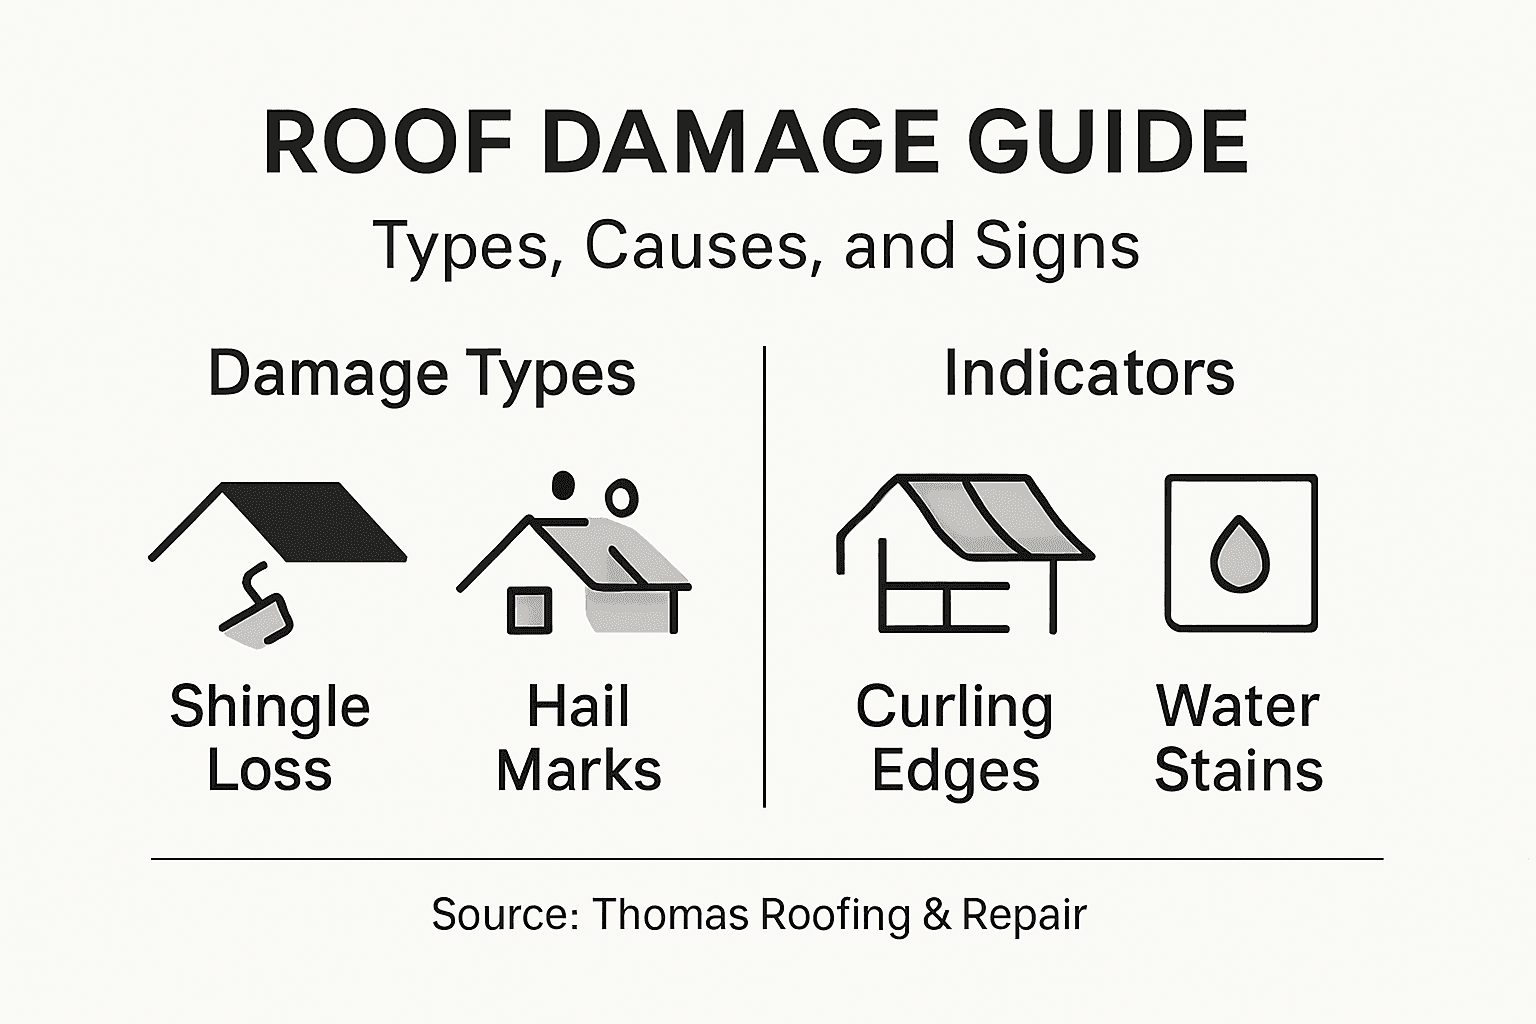
Here’s a quick reference to common types of roof damage and their typical causes:
| Damage Type | Common Causes | Visible Indicators |
|---|---|---|
| Missing shingles | High winds, hail, aging | Bare patches, exposed underlayment |
| Cracked shingles | Sun exposure, impact | Split lines, lifted edges |
| Granule loss | Hail, weathering | Bald spots, granules in gutters |
| Damaged flashing | Storms, poor installation | Bent metal, loose seams |
| Rot or soft spots | Water intrusion, leaks | Discolored decking, spongy feel |
Expert Tip: Always conduct your roof assessment during daylight hours and avoid walking on wet or steep surfaces to ensure personal safety during the inspection.
Step 2: Gather Tools and Prepare Safety Equipment
Preparing the right tools and safety equipment is crucial before starting any roof repair project. Your goal is to ensure both efficient work and personal protection against potential hazards. Central Florida’s challenging roofing environments demand comprehensive preparation and strategic equipment selection.
First, assemble your essential safety gear. Safety recommendations from roofing professionals emphasize using fall protection systems, including a full body harness, sturdy roof anchors, and secure lanyard connections. Wear nonslip boots with excellent traction, heavy duty work gloves, safety glasses, and a hard hat. Consider investing in knee pads to protect yourself during extended work periods on rough roofing surfaces. Beyond personal protective equipment, gather your repair tools like a sturdy ladder, hammer, roofing nails, utility knife, tape measure, chalk line, and replacement shingles appropriate for your specific roof type.
Organize your tools in a portable toolbox or tool belt to minimize movement and maintain a secure working environment. Place all materials within easy reach but ensure they are secured to prevent accidental drops. Clear the immediate work area of potential tripping hazards and communicate your repair plan with anyone else present to maintain a safe workspace.
Expert Tip: Always perform a comprehensive tool and equipment check before climbing onto the roof to prevent last minute scrambling and potential safety risks.
The table below summarizes essential safety gear and repair tools for effective roof work:
| Equipment | Purpose | Recommended Use Scenario |
|---|---|---|
| Full body harness | Fall protection | Working on steep or high roofs |
| Nonslip boots | Traction and comfort | Wet or angled surfaces |
| Safety glasses | Eye protection | Cutting, nailing, demolition |
| Utility knife | Shingle removal, trimming | Removing damaged materials |
| Roof anchors | Secures safety harness | Installing fall protection system |
Step 3: Remove Damaged Roofing Materials
Removing damaged roofing materials is a critical step in preventing further structural damage to your home. Your primary objective is to carefully extract compromised sections while minimizing additional damage to surrounding roof areas and preparing a clean surface for new materials.

Roof repair techniques recommend starting by creating a clear workspace around the damaged section. Use a utility knife to cut and remove damaged shingles, working carefully from the top down to ensure you do not compromise the underlying roofing layers. Begin by lifting the edges of surrounding intact shingles and removing the nails securing the damaged materials. Take care to preserve the integrity of the surrounding roofing membrane and avoid puncturing or tearing the waterproof underlayment beneath.
As you remove damaged materials, conduct a thorough inspection of the roof deck for signs of rot, water damage, or structural weakness. Look for soft spots, discoloration, or any indication of moisture penetration that might require additional repair before installing new roofing materials. Remove all damaged sections completely, ensuring a clean and stable surface for replacement. Keep your work area organized and dispose of removed materials safely to prevent potential hazards.
Expert Tip: Work systematically and remove only as much roofing material as you can immediately replace to minimize exposure to potential water intrusion.
Step 4: Install New Roofing Components Securely
Installing new roofing components requires precision and careful attention to detail to ensure your roof can withstand Central Florida’s challenging weather conditions. Your goal is to create a watertight, durable roofing system that protects your home from potential moisture intrusion and wind damage.
Residential roofing installation standards emphasize the importance of following specific guidelines for securing each roofing component. Start by laying a high quality waterproof underlayment, ensuring complete coverage and proper overlap at all seams. When placing new shingles, use roofing nails positioned exactly according to manufacturer specifications, typically four to six nails per shingle depending on wind zone requirements. Pay close attention to nail placement to prevent future lifting or wind damage.
Properly seal all flashing around chimneys, vents, and roof intersections to prevent potential water infiltration. Ensure each new component is aligned precisely with surrounding materials, maintaining consistent spacing and creating a smooth, uniform surface. Take extra care around complex roof features like valleys and edges, where water flow and wind pressures are most intense. Double check your work to confirm each section is securely fastened and correctly positioned before moving to the next area.
Expert Tip: Always check local building codes and manufacturer guidelines to ensure your installation meets specific regional requirements for wind resistance and material compatibility.
Step 5: Verify Repairs and Perform Final Inspection
The final inspection is your opportunity to confirm that all roof repair work meets the highest standards of quality and protection. Your primary goal is to thoroughly validate that every repaired section functions correctly and provides maximum defense against potential water intrusion or structural vulnerabilities.
Comprehensive roof inspection techniques recommend a systematic approach to verifying repairs. Start by examining the entire roof surface from multiple angles, checking for uniform shingle alignment, secure nail placement, and smooth transitions between new and existing materials. Look carefully for any signs of potential weakness such as slight lifting, uneven surfaces, or inconsistent sealing around roof penetrations like vents and chimneys. Pay special attention to areas previously identified as damaged, ensuring they have been completely and correctly restored.
Move beyond visual inspection by conducting a water test if possible. Use a garden hose to simulate rainfall conditions and carefully observe how water flows across the repaired sections. Check inside your attic for any signs of moisture penetration or unexpected light passing through potential gaps. Document your findings with clear photographs and notes, which can serve as valuable records for future maintenance or potential insurance claims. A thorough final inspection provides peace of mind that your roof repair has been completed successfully and will protect your home effectively.
Expert Tip: Perform your final inspection during daylight hours and consider using binoculars to examine hard to reach areas without risking personal safety on the roof surface.
Protect Your Home with Expert Roof Repair Solutions in Central Florida
Facing roof damage after a storm or noticing cracked shingles can feel overwhelming. The article showed you how vital it is to perform thorough inspections, remove damaged materials carefully, and install new roofing components securely. These steps are crucial for preventing leaks and structural issues that could put your home at risk. At Thomas Roofing and Repair, we understand these challenges and are committed to bringing you reliable service that goes beyond quick fixes.
With years of experience serving homeowners throughout Brevard, Volusia, and Orange counties, we specialize in every aspect of roof repair including storm damage assessments, professional removal of damaged materials, and precise installation following local building codes. We combine craftsmanship and integrity to ensure your roof stands strong against Central Florida’s weather. Don’t wait until minor problems become costly repairs. Get a free, detailed roof inspection and personalized repair plan today.

Take control of your roof’s health now. Visit Thomas Roofing and Repair to schedule your free estimate. For trusted expertise tailored to your specific needs, explore our comprehensive roof repair services and learn why your neighbors depend on us for dependable roofing solutions. Protect your home with confidence—reach out and experience quality and peace of mind.
Frequently Asked Questions
How do I assess roof damage before repairs?
To assess roof damage, start with a visual inspection from the ground and then safely access your roof. Look for missing or cracked shingles, exposed underlayment, and signs of water intrusion around chimneys and vents.
What safety equipment do I need for roof repair?
Essential safety equipment for roof repair includes a full body harness, nonslip boots, safety glasses, and sturdy gloves. Ensure you wear this gear before starting work to protect yourself from potential hazards.
How do I remove damaged roofing materials?
To remove damaged roofing materials, use a utility knife to cut away compromised shingles, starting from the top. Carefully lift surrounding shingles to access and remove the nails without damaging the underlying structure.
What steps should I follow to install new roofing components?
When installing new roofing components, lay down a waterproof underlayment first, ensuring proper overlap at seams. Then, position new shingles according to manufacturer specifications, using the required number of nails for secure attachment.
How can I verify that my roof repairs are completed correctly?
To verify your roof repairs, conduct a detailed inspection of the entire surface for alignment and secure nail placement. Consider performing a water test to observe how water flows across the repaired sections, looking for any signs of leaks.
What should I document after completing roof repairs?
After completing roof repairs, document your work with clear photographs and notes on the condition of each section. This will create a valuable record for future maintenance or any potential insurance claims.