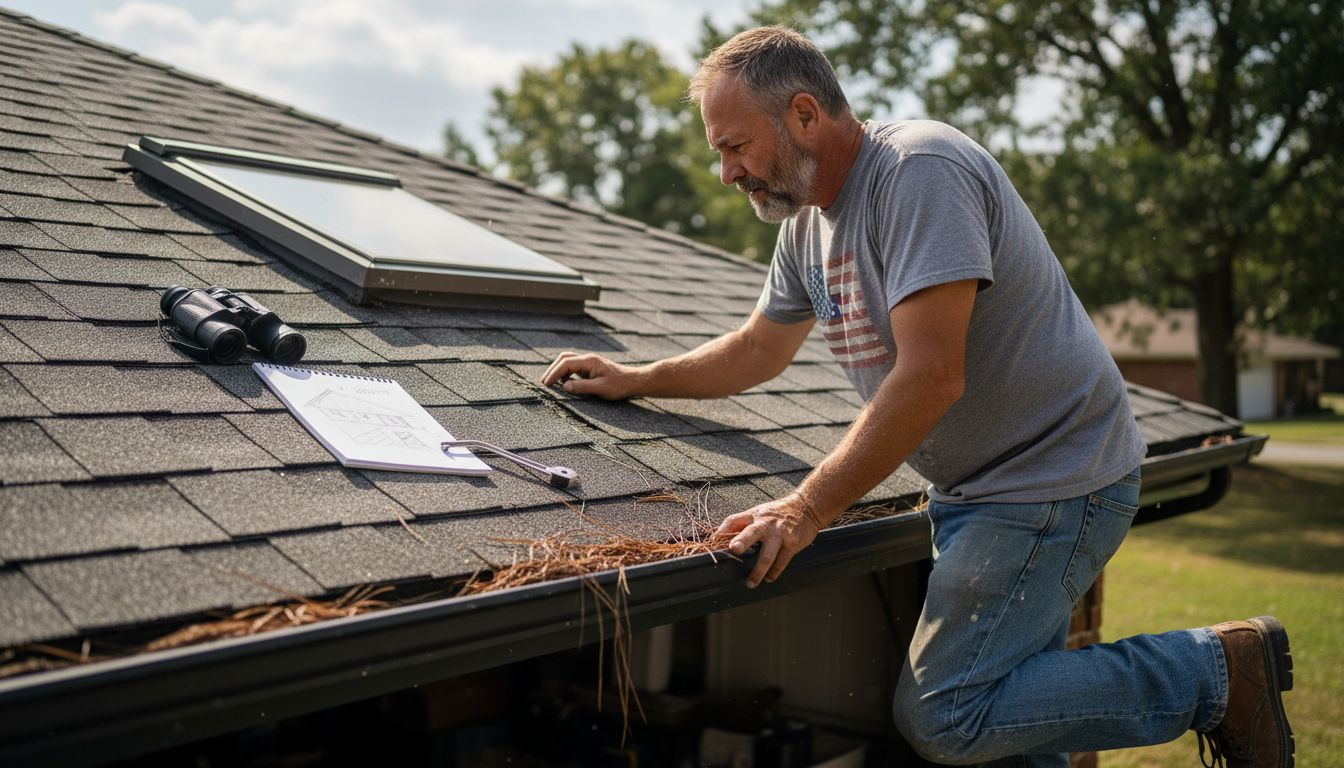
Florida’s relentless sun and sudden storms test the strength of every aging roof. For many Central Florida homeowners, small leaks and loose shingles are more than eyesores—they can signal bigger headaches when hurricane season arrives. Staying on top of routine assessments, investing in personal protective equipment, and addressing minor issues early gives you practical ways to extend your roof’s life and safeguard your property before the next downpour.
Table of Contents
- Step 1: Assess Roof Condition And Prepare Safety Gear
- Step 2: Clean Debris And Inspect For Visible Damage
- Step 3: Repair Minor Issues And Secure Loose Materials
- Step 4: Treat Surfaces To Prevent Mold And Algae Growth
- Step 5: Verify Roof Integrity Before Storm Season
Quick Summary
| Key Point | Explanation |
|---|---|
| 1. Assess roof condition carefully | Examine your roof for damage from ground level, including shingles and areas around chimneys, vents, and skylights. |
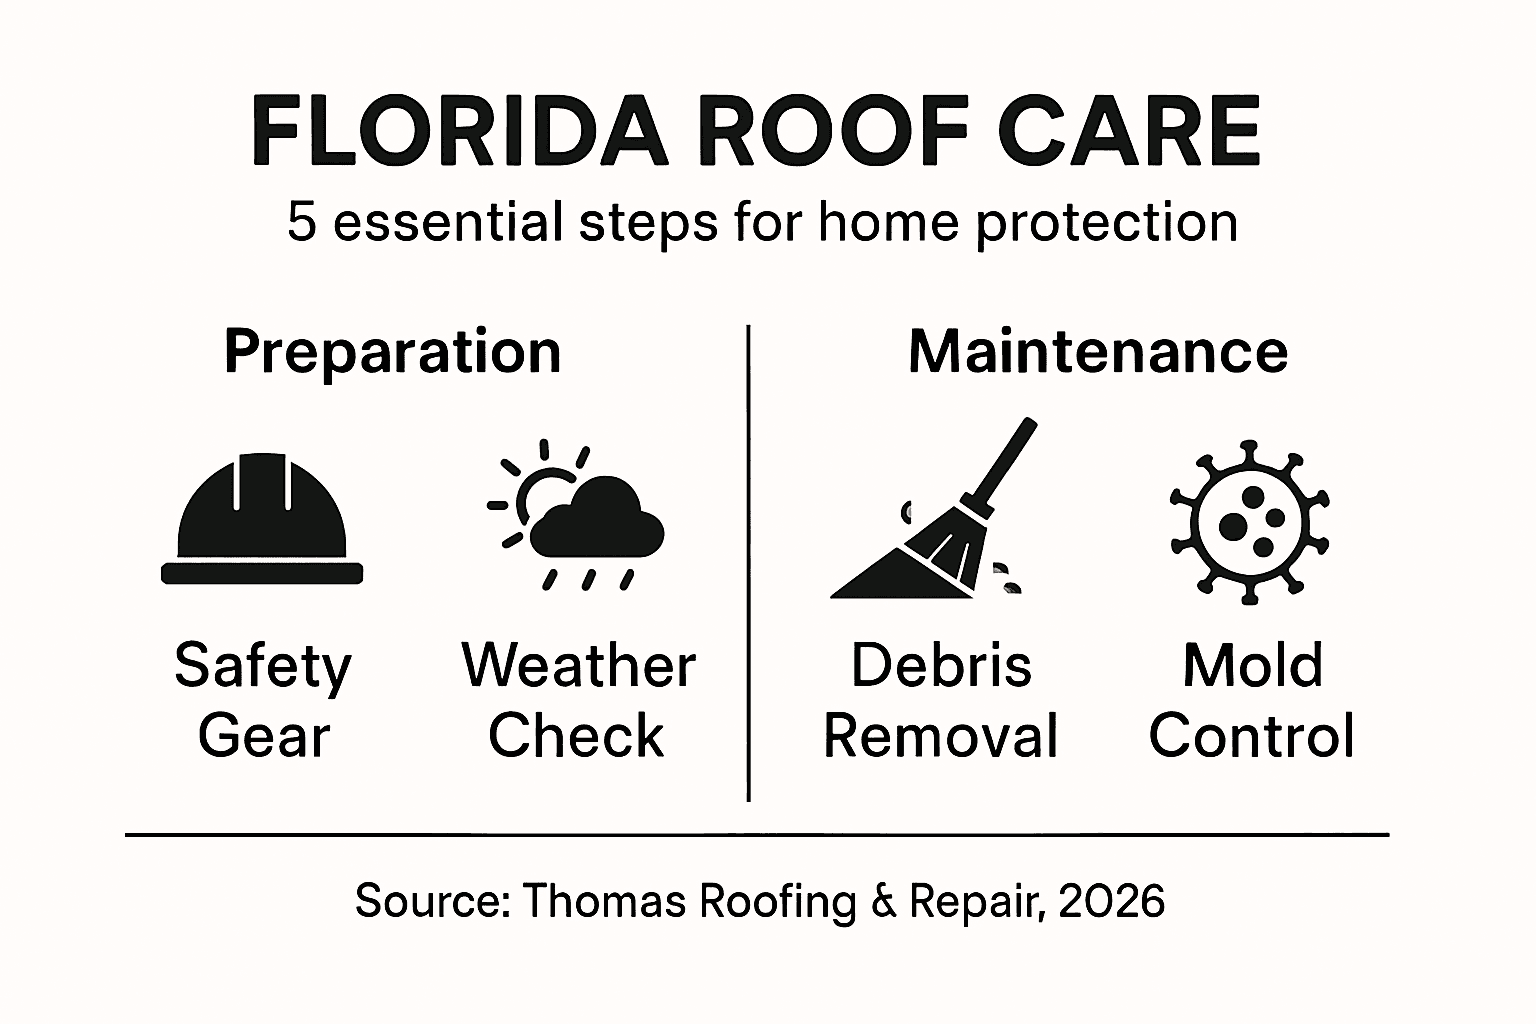
| 2. Use proper safety gear during inspections | Always equip yourself with slip-resistant boots, a safety harness, gloves, and a hard hat before climbing on the roof. |
| 3. Clean debris to prevent damage | Regularly remove leaves and branches to spot issues like cracked shingles or water stains early to avoid major repairs. |
| 4. Repair minor issues promptly | Address small repairs like loose shingles or flashing immediately to prevent bigger problems down the road. |
| 5. Conduct roof integrity checks pre-storm | Inspect critical areas of your roof at least a month before storm season to ensure it is reinforced against severe weather. |
Step 1: Assess roof condition and prepare safety gear
Assessing your roof’s condition and preparing appropriate safety gear are critical first steps in any roof maintenance project. This process involves carefully evaluating potential hazards and equipping yourself with the right protective equipment to prevent accidents and ensure a safe inspection.
Begin by thoroughly examining your roof’s structural integrity from ground level first. Look for visible signs of damage such as missing or curled shingles, sagging areas, or debris accumulation. Pay special attention to areas around chimneys, vents, and skylights where water damage often occurs. Recognizing fall prevention methods becomes crucial during this initial assessment.
Before climbing, gather essential safety gear including:
- Slip-resistant work boots
- Safety harness and fall protection system
- Sturdy work gloves
- Hard hat
- Non-reflective safety glasses
Always prioritize personal safety over quick repairs or inspections.
If you notice significant damage or feel uncomfortable with heights, consider hiring a professional roofing inspector who can conduct a comprehensive evaluation safely.
Pro tip: Check local weather forecasts and avoid roof inspections during wet, windy, or unstable conditions to minimize potential risks.
Compare two approaches for roof inspections:
| Method | Safety Level | Required Tools | When to Use |
|---|---|---|---|
| Ground assessment | Very high | Binoculars, camera | Routine checks |
| On-roof assessment | Moderate (with gear) | Safety harness, gloves | In-depth inspections |
Step 2: Clean debris and inspect for visible damage
Cleaning debris and thoroughly inspecting your roof for damage is a crucial maintenance step that helps prevent long-term structural issues and costly repairs. By systematically removing accumulated materials and carefully examining your roof’s surface, you can identify potential problems before they escalate.
Start by carefully removing leaves, branches, and other debris using a soft-bristled roof rake or leaf blower. Be gentle to avoid damaging shingles or underlying roofing materials. Conducting regular roof inspections after severe weather events can help you catch potential issues early.
While cleaning, look for these key signs of damage:
- Cracked or missing shingles
- Dark spots or water stains
- Loose or exposed roofing nails
- Granule buildup in gutters
- Sagging or uneven roof sections
Small issues today can prevent major repairs tomorrow.
Pay special attention to areas around chimneys, vents, and skylights where water damage frequently occurs. Use binoculars if needed to examine hard-to-reach sections without risking personal safety.
Pro tip: Take clear, dated photos of your roof during inspection to track changes and create a visual maintenance history.
Here’s a quick reference for typical roof problems, their main causes, and immediate solutions:
| Problem Type | Common Cause | Fastest Action |
|---|---|---|
| Missing shingles | High winds, storm damage | Replace with new shingle |
| Granule buildup in gutter | Shingle aging, rain erosion | Clear gutters, inspect roof |
| Dark spots or streaks | Mold or algae growth | Clean and treat surface |
| Loose flashing | Improper installation, weather | Reseal or reattach securely |
| Sagging roof | Water damage, structural issue | Consult professional |
Step 3: Repair minor issues and secure loose materials
Repairing minor roof issues and securing loose materials are critical steps in preventing further damage and maintaining your roof’s structural integrity. These targeted repairs can help you avoid costly replacements and protect your home from potential water damage.
Roof repair safety standards emphasize the importance of proper techniques when addressing roof damage. Begin by gathering essential repair materials such as roofing cement, replacement shingles, a hammer, roofing nails, and a pry bar.
Focus on these key repair areas:
- Replace damaged or missing shingles
- Seal small cracks and gaps
- Secure loose flashing around chimneys and vents
- Reattach loose roofing materials
- Fill small holes with roofing cement
Timely minor repairs prevent major structural problems.
When replacing shingles, carefully lift the surrounding shingles and remove damaged ones. Slide new shingles into place, ensuring they align perfectly with existing rows. Secure each with roofing nails and apply a small amount of roofing cement to create a watertight seal.
Pro tip: Keep extra matching shingles from your original roof installation for more precise color-matched repairs.
Step 4: Treat surfaces to prevent mold and algae growth
Preventing mold and algae growth is crucial for maintaining your roof’s health and protecting your home’s structural integrity. Understanding and implementing proactive surface treatments can significantly extend your roof’s lifespan and prevent costly damage.
Moisture control strategies are essential in stopping mold and algae development. Start by thoroughly cleaning the roof surface using a specialized cleaning solution designed to kill existing spores and create a protective barrier against future growth.
Key steps for preventing mold and algae include:
- Remove organic debris completely
- Improve roof ventilation
- Apply zinc or copper-based treatments
- Ensure proper drainage
- Maintain consistent roof surface cleaning
Regular maintenance prevents expensive long-term damage.
Choose cleaning solutions specifically formulated for roofing materials, avoiding harsh chemicals that might damage shingles. Apply treatments using a low-pressure sprayer, working systematically across the roof surface to ensure complete coverage.
Pro tip: Mix one part bleach with four parts water for an effective, budget-friendly roof cleaning solution that kills existing mold and algae spores.
Step 5: Verify roof integrity before storm season
Preparing your roof for Florida’s intense storm season requires a comprehensive and systematic integrity check. Understanding potential vulnerabilities and addressing them proactively can mean the difference between minimal repairs and catastrophic damage.
Roof structural verification protocols become essential in identifying potential weaknesses before severe weather strikes. Start by conducting a thorough visual inspection, paying close attention to critical areas that are most susceptible to wind and water damage.
Key inspection focus points include:
- Check roof deck attachment points
- Examine flashing and seal conditions
- Inspect shingle and tile edges
- Verify fastener integrity
- Look for existing water damage signs
Small vulnerabilities can lead to significant structural failures during storms.
Concentrate on roof edges, connections, and transition zones where materials meet. Use binoculars or a stable ladder to get a clear view without compromising your safety. Document any areas of concern with clear, dated photographs for potential future reference or professional consultation.
Pro tip: Schedule your roof integrity check at least one month before hurricane season to allow time for necessary repairs and reinforcements.
Protect Your Florida Home with Expert Roof Maintenance from Thomas Roofing and Repair
The challenges of keeping your roof safe and sturdy through Florida’s harsh weather demand professional attention and trusted solutions. Whether you are dealing with debris buildup, minor repairs, or preparing your roof for storm season, knowing when to act and how to maintain your roof can save you from costly damages and stress. From assessing roof conditions to treating surfaces against mold and algae, this guide highlights the critical steps every homeowner should follow—yet some tasks require the skill and safety expertise only professionals can provide.
At Thomas Roofing and Repair, we understand these specific pain points and offer comprehensive services to protect your investment. Our team specializes in roof inspections, repairs, and storm damage restoration tailored to Central Florida climates including Brevard, Volusia, and Orange counties. We combine high-quality craftsmanship with dependable service to address dangling nails, missing shingles, water damage, and preventive treatments that extend your roof’s life.

Don’t leave your roof’s health to chance before the next storm hits. Take proactive steps now by scheduling a professional roof inspection or repair with us. Visit our site to learn about our financing options, customer testimonials, and the trusted expertise that sets Thomas Roofing and Repair apart. Click here to request a free estimate or get expert advice today at Thomas Roofing and Repair. Protect your home and peace of mind with a roof that stands strong through any season.
Frequently Asked Questions
How often should I inspect my roof for maintenance?
Regularly inspect your roof at least twice a year and after severe weather events. This proactive approach helps you catch potential issues early, effectively reducing the risk of costly repairs.
What type of safety gear do I need for roof inspections?
For roof inspections, wear slip-resistant work boots, a safety harness, sturdy work gloves, a hard hat, and non-reflective safety glasses. Equip yourself with these items to ensure your safety while performing inspections and maintenance tasks.
What are the most common signs of roof damage?
Common signs of roof damage include cracked or missing shingles, dark spots or water stains, loose roofing nails, and sagging sections. Regularly check your roof for these indicators to identify problems before they escalate.
How can I prevent mold and algae growth on my roof?
To prevent mold and algae growth, remove organic debris, improve roof ventilation, and apply a zinc or copper-based treatment. Implement these steps seasonally to maintain a clean and healthy roof surface.
What should I do to prepare my roof for hurricane season?
To prepare your roof for hurricane season, conduct a thorough inspection focusing on roof deck attachment points and flashing conditions. Complete your integrity checks at least one month before the season to address any vulnerabilities effectively.
How can I securely attach loose shingles or flashing?
To securely attach loose shingles or flashing, lift surrounding materials and reattach them using appropriate roofing nails or roofing cement. Take action promptly to prevent water leaks and further damage to your roof structure.
Recommended
- 7 Essential Roof Maintenance Tips for Florida Homeowners
- Role of Roof Maintenance for Central Florida Homes
- 7 Essential Roof Repair Tips for Homeowners in Florida
- 7 Step Roof Maintenance Checklist for Central Florida Homes
- Roofing Company Orlando FL
- Roofing Company Titusville FL
- Roofing Company DeLand FL