
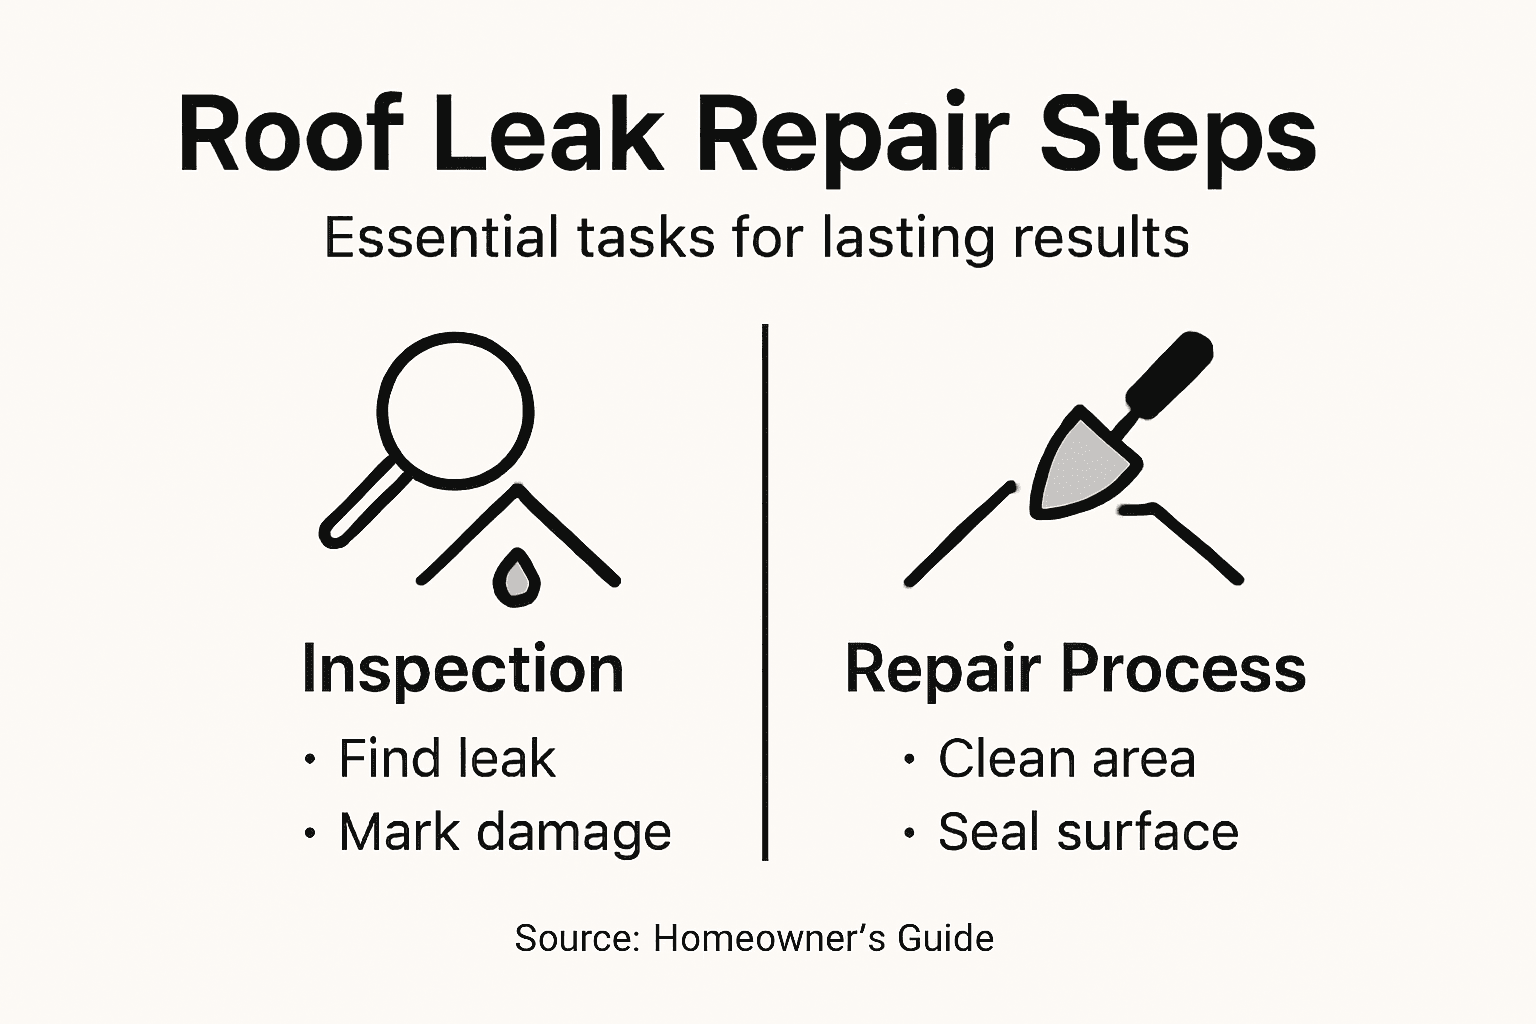
Rainstorms in Central Florida can turn a small roof problem into a major headache almost overnight. When water shows up on your ceiling or attic, choosing the right fix becomes urgent for protecting your home’s comfort and value. Whether you prefer a hands-on approach or want professional-grade peace of mind, this guide breaks down every step of DIY roof leak repair and highlights when expert help ensures long-lasting results. For true protection, focusing on a systematic roof inspection and thorough surface preparation sets the foundation for reliable repairs.
Table of Contents
- Step 1: Inspect And Locate The Roof Leak
- Step 2: Clear And Prepare The Damaged Area
- Step 3: Apply Repair Materials Effectively
- Step 4: Secure And Seal The Roof Surface
- Step 5: Test And Confirm The Leak Repair
Quick Summary
| Key Point | Explanation |
|---|---|
| 1. Systematically Locate Roof Leaks | Check both interior and exterior for water stains, damaged shingles, or other indicators to find the leak source efficiently. |
| 2. Thoroughly Prepare Repair Area | Clear debris and damaged materials to ensure new repairs adhere properly and last long. |
| 3. Select Appropriate Repair Materials | Use materials specific to your roof type for effective sealing against future leaks. |
| 4. Securely Seal Roof Surface | Properly apply fasteners and sealants to eliminate gaps, preventing future moisture intrusion. |
| 5. Conduct a Leak Test After Repairs | Simulate rain conditions to confirm the effectiveness of your repairs and avoid future water damage. |
Step 1: Inspect and Locate the Roof Leak
Locating a roof leak requires systematic investigation and keen observation. Your goal is to pinpoint the exact source of water intrusion before beginning any repair work.
Start your inspection by examining the interior first. Check your attic or ceiling for telltale signs like water stains, dark spots, or discoloration. These indicators often reveal where water is penetrating your roofing system. Professional roof inspection techniques recommend looking for moisture trails, mold growth, or wood discoloration that might signal an ongoing leak.
During your investigation, pay special attention to these critical areas:
- Roof valleys where two roof planes intersect
- Around chimneys and vent pipes
- Near skylights and roof edges
- Areas with damaged or missing shingles
Outdoor inspection is equally crucial. Carefully walk around your home’s perimeter, noting any visible roof damage. Look for:
- Cracked or curling shingles
- Exposed roof underlayment
- Gaps in flashing
- Debris accumulation
If you cannot safely access your roof or feel uncertain about the leak’s origin, consider professional evaluation methods that can provide precise diagnostics.
Pro tip: Water can travel significant distances from its entry point, so the visible damage might not indicate the leak’s exact source.
Pro tip: Use a garden hose to simulate rainfall and systematically trace water movement during your inspection to help pinpoint hard-to-find leaks.
Here’s a quick reference guide for common roof leak sources and their inspection challenges:
| Leak Source | Typical Sign | Inspection Difficulty | Special Considerations |
|---|---|---|---|
| Roof valleys | Water stains | Moderate | May involve multiple seams |
| Chimney/vent pipes | Mold growth | High | Flashing often needs review |
| Skylights/roof edges | Discoloration | Moderate | Look for sealant failures |
| Damaged/missing shingles | Dark spots | Low | Check for underlying rot |
Step 2: Clear and Prepare the Damaged Area
Before you start your roof repair, preparing the damaged area correctly is crucial for a successful and long-lasting fix. This step ensures that your repair materials will adhere properly and create a solid foundation for restoration.
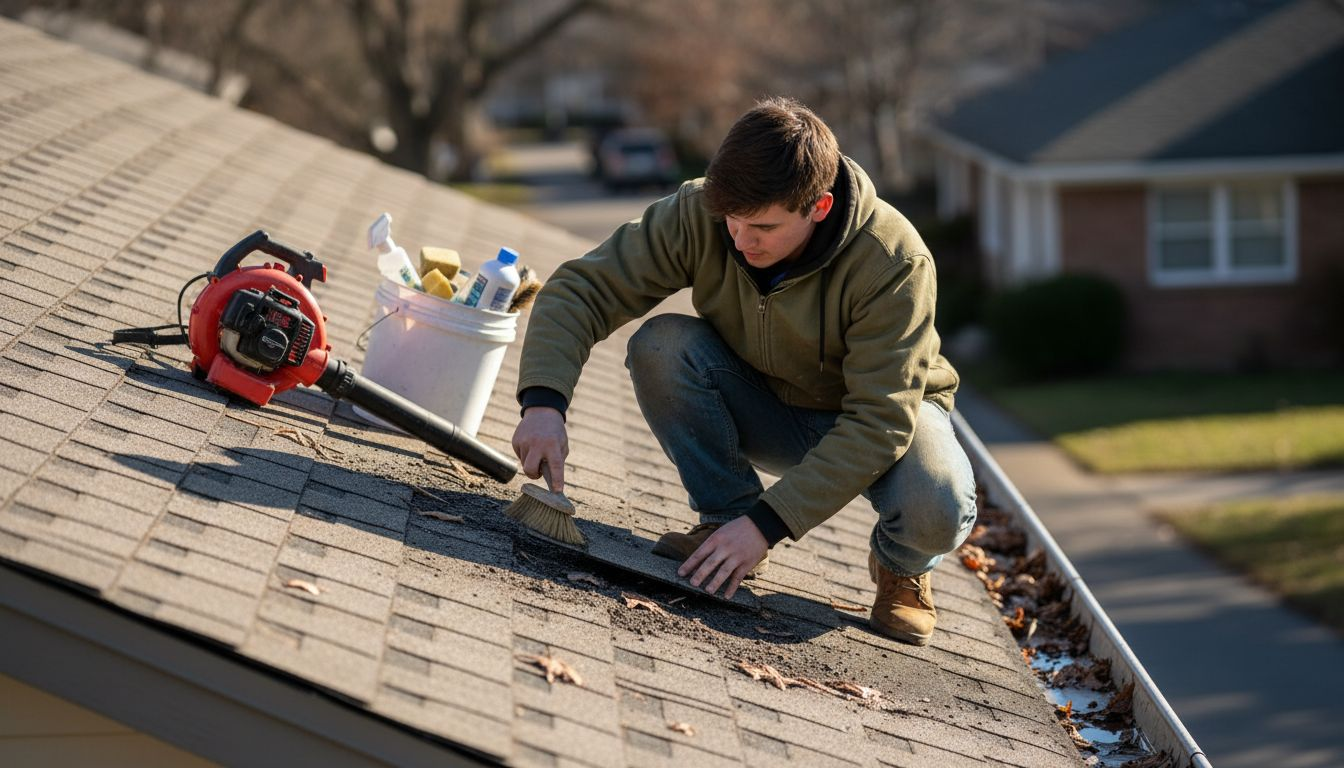
Clearing the area involves several important tasks. Practical roof repair preparation requires thoroughly cleaning the surface of dirt, debris, and old deteriorated materials. Use a stiff-bristled brush to remove loose particles and check for any signs of additional damage not initially visible.
Your preparation checklist should include:
- Remove any loose or damaged shingles
- Clear away moss, algae, or vegetation growth
- Clean the area with a specialized roof cleaner
- Dry the surface completely before repair work
Professional roof inspection guidelines recommend paying special attention to these key areas:
- Check surrounding shingles for potential additional damage
- Inspect flashing and seal points for deterioration
- Remove any rust or old sealant residue
- Ensure the surface is smooth and even
Thorough preparation is the foundation of a successful roof repair. Skipping these steps can compromise the entire repair process.
Pro tip: Use a leaf blower or soft brush to remove debris, and always work on a dry day with moderate temperatures to ensure optimal repair conditions.
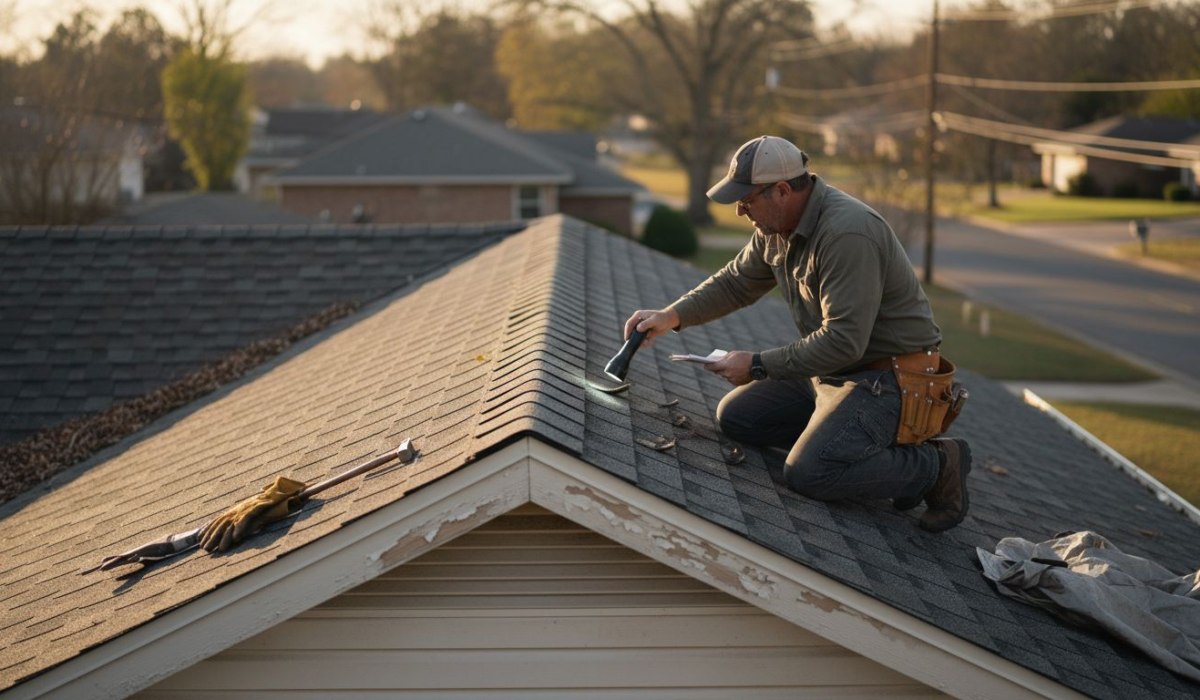
Step 3: Apply Repair Materials Effectively
Successfully repairing a roof leak depends on selecting and applying the right materials with precision and care. Your goal is to create a watertight seal that prevents future water intrusion and protects your home’s structural integrity.
Thermoplastic roofing repair techniques emphasize the critical importance of material compatibility and correct application. Different roof types require specific repair materials, so choose products designed for your specific roofing system. Whether you’re using roofing cement, patch membranes, or specialized sealants, ensuring proper coverage is key.
Apply your repair materials using these essential steps:
- Select materials matched to your specific roof type
- Use a clean, dry application tool
- Apply materials in thin, even layers
- Extend repair material slightly beyond damaged area
Roofing repair application methods recommend specific techniques for optimal results:
- Clean application tools before use
- Work in consistent temperature conditions
- Follow manufacturer’s recommended thickness
- Allow proper curing time between layers
Precision matters more than speed when applying roof repair materials. Take your time to ensure complete and thorough coverage.
Pro tip: Wear protective gloves and use a putty knife with a flexible blade for smoother, more consistent material application.
Below is a summary table outlining key roof repair materials for different roof types:
| Roof Type | Recommended Materials | Benefit | Application Note |
|---|---|---|---|
| Asphalt shingle | Roofing cement, sealant | Waterproofs easily | Apply in thin layers |
| Metal | Specialized patch, sealant | Resists corrosion | Ensure rust removal first |
| Tile | Membrane patch, adhesive | Flexible sealing | Use compatible adhesives |
| Thermoplastic | Thermoplastic membranes | Highest durability | Follow heat-weld process |
Step 4: Secure and Seal the Roof Surface
Successfully repairing a roof leak requires more than just patching the damaged area. You need to create a comprehensive, watertight seal that protects your home from future moisture intrusion and potential structural damage.
Roofing codes and safety standards emphasize the critical importance of proper fastening and sealing techniques. Each roofing material and repair scenario demands specific approaches to ensure long-lasting protection against water penetration and environmental stress.
Focus on these key sealing techniques:
- Use corrosion-resistant fasteners specific to your roof type
- Apply sealant evenly and consistently
- Overlap repair materials by recommended margins
- Eliminate air pockets and potential water entry points
Professional roofing sealing methods recommend the following critical steps:
- Clean the surface thoroughly before applying sealants
- Check manufacturer specifications for proper application
- Use appropriate pressure when applying adhesives
- Allow adequate curing time between layers
Precision in sealing is not optional. One small gap can compromise your entire roof repair effort.
Pro tip: Work in moderate temperatures and avoid sealing during extreme humidity or direct sunlight to ensure optimal adhesion and curing.
Step 5: Test and Confirm the Leak Repair
After completing your roof repair, verifying the effectiveness of your work is crucial to prevent future water damage. Your goal is to confirm that the repair has completely sealed the leak and restored your roof’s integrity.
Electronic leak detection methods provide advanced techniques for confirming repair quality. These sophisticated approaches involve applying electrical currents to identify any remaining membrane breaches that might not be visible to the naked eye.
Conduct a comprehensive leak test using these critical steps:
- Simulate rainfall conditions using a garden hose
- Check interior ceiling and attic for moisture signs
- Observe repair area during and after water application
- Wait 24-48 hours to confirm complete water resistance
Professional roof inspection protocols recommend the following verification techniques:
- Perform visual inspection under different lighting conditions
- Use moisture detection tools around repair site
- Check for any discoloration or soft spots
- Document repair area with clear photographs
Not all leaks reveal themselves immediately. Patience and thorough testing are your best defense against future water intrusion.
Pro tip: Conduct your leak test during dry weather conditions to ensure accurate moisture detection and prevent potential additional water exposure.
Secure Your Home with Expert Roof Leak Repairs Today
Locating and repairing a roof leak involves detailed inspection, careful preparation, and precise sealing techniques to ensure lasting protection. If you are facing challenges like identifying hidden water intrusion or worry about poor repair results, you need trusted professionals who understand these complexities and deliver quality craftsmanship. Thomas Roofing and Repair specializes in comprehensive roofing services throughout Central Florida including Brevard, Volusia, and Orange counties. Our expertise covers everything from dependable roof inspections to effective leak repairs that stand the test of time.
Don’t let a small leak cause big damage. Our team uses proven methods aligned with industry standards to clear damaged areas, apply compatible repair materials, and test every repair thoroughly. Experience peace of mind knowing your roof is sealed against future storms and wear. Learn more about our professional roof repair solutions at Thomas Roofing and Repair.

Get your free estimate today and protect your home before leaks escalate into costly problems. Visit our service page or contact us now to schedule a professional roof inspection and repair. Restore your roof’s integrity with experts who care about your home as much as you do.
Frequently Asked Questions
How do I start inspecting for a roof leak?
Begin your inspection by checking your attic or ceilings for water stains and discoloration. Look closely in areas like roof valleys, around chimneys, and near skylights for any signs of water intrusion.
What materials do I need to prepare for a roof leak repair?
Gather roofing cement, patches, sealants, and specific tools like a putty knife. Ensure you have a stiff-bristled brush for cleaning and protective gloves to safely handle materials.
How can I ensure a watertight seal after repairing a roof leak?
To create a watertight seal, overlap repair materials and apply sealant evenly. Take your time to eliminate air pockets and ensure all edges are secured, as even a small gap can lead to future leaks.
How can I verify that my roof leak repair was successful?
Conduct a leak test by simulating rain using a garden hose on the repaired area. Monitor the interior and exterior for any signs of moisture over the next 24-48 hours to confirm that the repair held up.
What should I do if I can’t find the source of the roof leak?
If locating the leak proves difficult, consider using moisture detection tools or consulting with a roofing professional. Addressing hidden leaks quickly can help prevent more extensive damage.
Recommended
- How to Repair Roof Leak: Step-by-Step Expert Solutions
- Commercial Roof Repair Process: Step-By-Step Success Guide
- 7 Essential Roof Repair Tips for Homeowners in Florida
- 7 Practical Examples of Roof Repairs for Homeowners
- Roofing Company Orlando FL
- Roofing Company Titusville FL
- Roofing Company DeLand FL