TL;DR:
- Proper documentation of storm damage is crucial for a successful insurance claim. Collect detailed photos, an inventory, receipts, and a communication log within the first 48 hours before scene changes occur. Timely, thorough records strengthen your position and prevent claim disputes or denials.
Proper insurance claim documentation is the single most important factor in whether a storm damage claim succeeds or fails. The quality and timing of your evidence directly shapes your settlement amount. Homeowners who follow clear insurance claim documentation steps from the first hour after damage give adjusters no room to undervalue or deny their claims. This guide covers every stage of the process: what to collect, how to capture it safely, how to file, and what to do when an insurer pushes back.
What documents and evidence do you need to gather after storm damage?
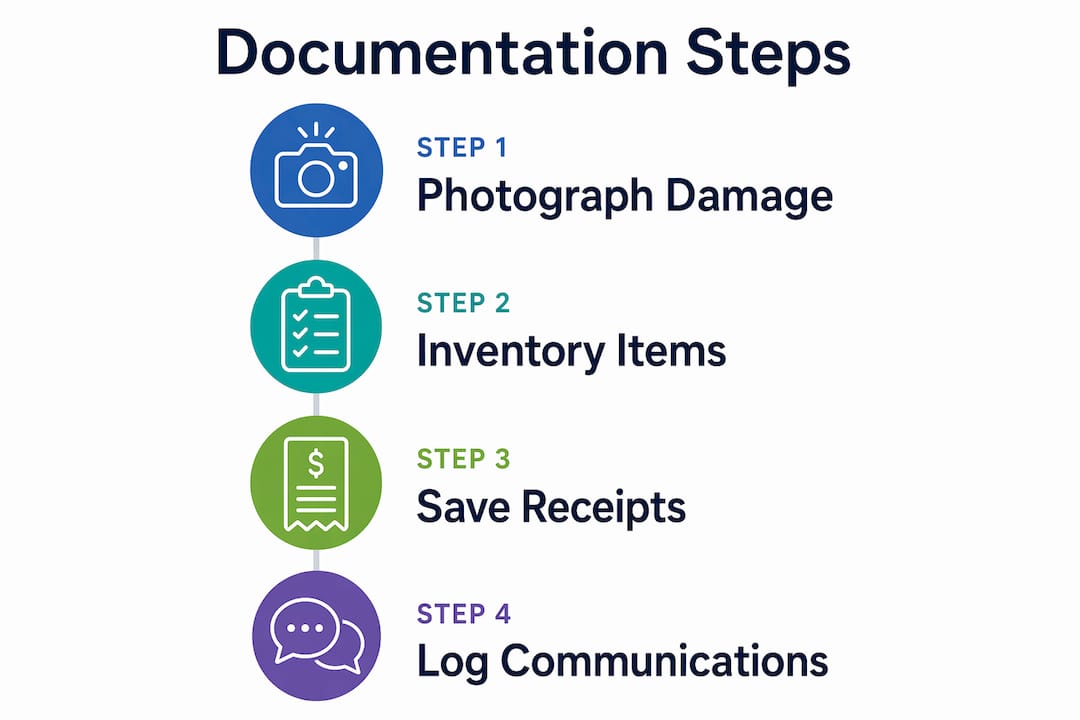
A complete insurance claim file includes four core document streams: photographic evidence, an itemized inventory, receipts for emergency costs, and a communication log. Organizing these with a date-first file naming system reduces processing delays and prevents confusion. Missing even one stream gives adjusters grounds to question your claim.
The four document types you need
| Document type | Purpose |
|---|---|
| Photographs and video | Prove the extent and cause of damage visually |
| Itemized inventory | List damaged property with brand, age, and estimated value |
| Emergency receipts | Document mitigation costs like tarps, boarding, or hotel stays |
| Communication log | Record every insurer and contractor contact with dates and names |
Photographs are your strongest evidence. Capture wide, mid-range, and close-up shots for every damaged area. Wide shots show context. Mid-range shots show the affected section. Close-ups show the specific damage detail an adjuster needs to assess cost.
Inventory documentation requires more than a list of items. Write down the brand, approximate age, and your best estimate of replacement value for each damaged item. A 5-year-old HVAC unit and a brand-new one carry very different claim values. Specificity protects you.

Emergency receipts cover costs you paid immediately to prevent further damage. Tarps, plywood, temporary fencing, and hotel stays during uninhabitable conditions all qualify. Keep every receipt and photograph the work those purchases paid for.
Pro Tip: Create a master folder on your phone or computer the day damage occurs. Name every file with the date first, for example “2026-09-14_roof_closeup_01.jpg.” This makes your file set easy to sort and impossible to dispute chronologically.
Logging every communication with dates, names, and content summaries builds a critical evidence trail. Write down the name of every insurer representative you speak with, the date, and a one-sentence summary of what was said. This record becomes your defense if the insurer later contradicts itself.
How do you document the damage properly and safely in the critical first 48 hours?
Evidence captured within the first 24–48 hours is the most authoritative record you can create. After that window, weather, cleanup, and temporary repairs begin to alter the scene. Your goal is to freeze the damage in time before anything changes.
Safety comes before documentation. Do not enter hazardous areas before they are cleared by a professional. Insurers accept reasonable delays caused by safety hazards. A gap of a few hours to confirm structural safety will not hurt your claim. Rushing into a damaged attic or onto a compromised roof will.
Once the area is safe, follow these steps in order:
- Walk the full perimeter of your property before touching anything. Look for structural damage, downed trees, broken windows, and displaced roofing material.
- Photograph the exterior from all four sides of the structure before moving inside.
- Move room by room inside, photographing each space from the doorway first, then moving closer to specific damage.
- Record a narrated walkthrough video. Speak aloud as you film, describing what you see. This gives adjusters context that still photos cannot provide.
- Photograph damaged items in place. Do not move or discard anything before it is documented. A broken appliance photographed where it fell is stronger evidence than one photographed in a pile outside.
- Add a timestamp reference. Place a dated newspaper or show a digital clock in frame for at least one photo per session.
“Specific documentation targeting the cause and nature of storm damage is more persuasive than generic photos.” — MoneyGeek on home damage documentation
Pro Tip: Narrate your walkthrough video as if the adjuster is standing next to you. Say things like “This is the northeast corner of the living room ceiling, showing active water intrusion from the roof above.” That level of detail removes ambiguity from the record.
You can learn more about identifying specific roof damage types in the Thomasroofingandrepair guide to storm damage roof examples, which walks through what different damage patterns look like and what they mean for repairs.
What steps should you follow when filing your claim and working with the adjuster?
Report storm damage to your insurer within 24–72 hours to avoid claim denial risks. Most policies include a prompt reporting requirement. Missing that window gives the insurer grounds to deny your claim entirely, regardless of how strong your documentation is.
Follow these steps when filing and managing your claim:
- Call your insurer’s claims line as soon as the area is safe. Give an accurate description of the damage. Do not speculate about causes or estimate costs out loud. Stick to what you observed.
- Confirm your policy number, deductible, and coverage limits before the call ends. Ask the representative to email you a summary of the conversation.
- Request a claim number in writing. Every future communication should reference this number.
- Schedule the adjuster inspection promptly. Do not delay this appointment. The sooner the adjuster sees the damage, the stronger your position.
- Be present during the inspection. Homeowners have the right to attend adjuster inspections and present their own evidence. Walk the adjuster through your documentation. Point out every damaged area.
- Get an independent contractor estimate. If the adjuster’s settlement offer is lower than your repair costs, an independent estimate from a licensed contractor gives you documented grounds to negotiate.
Common mistakes to avoid during this phase:
- Accepting a verbal settlement offer without a written breakdown
- Discarding damaged materials before the adjuster visits
- Allowing repairs to begin before the adjuster documents the damage
- Failing to ask for the adjuster’s name, license number, and contact information
Pre-repair documentation strengthens appeals and preserves your right to dispute insurer decisions. Repairs made before the adjuster visits can permanently weaken your negotiating position. If you must make emergency repairs to prevent further damage, photograph everything before and after.
How do you handle the proof of loss form and appeal a denied claim?
The proof of loss form is a formal, sworn document that is legally separate from your initial claim report. This form is typically due within 30–60 days of the loss event. Missing its deadline can void your claim entirely, even if the claim itself was filed on time.
Ask your insurer explicitly when the proof of loss deadline falls. Do not assume the date. Policies vary, and some insurers set shorter windows than the standard range.
Preparing your proof of loss correctly requires:
- Your complete photographic and video evidence set
- The itemized inventory with values and item descriptions
- All emergency repair receipts and contractor estimates
- Your communication log showing every insurer contact
If your claim is denied or the settlement is too low, the insurer must provide a written explanation. That written denial is your starting point for an appeal. Review it carefully. Identify which evidence the insurer says is missing or insufficient, then address each point directly.
Pro Tip: Request a certified copy of your full policy before filing an appeal. Adjusters sometimes apply exclusions that do not actually appear in your policy language. Reading the exact terms yourself is the fastest way to catch that error.
Steps to file an appeal:
- Submit a written appeal letter referencing your claim number and the denial reason
- Attach supplemental evidence: pre-repair photos, contractor estimates, and updated inventory
- Request a re-inspection if new damage was discovered after the initial visit
- Contact your state’s Department of Insurance if the insurer refuses to engage with your appeal
Insurers must provide written denial explanations, and homeowners have the right to dispute those decisions through formal channels. The Thomasroofingandrepair storm damage claim workflow guide outlines how to organize this process step by step.
Key Takeaways
Thorough, time-stamped documentation captured within the first 48 hours is the single most powerful tool a homeowner has for securing a fair storm damage settlement.
| Point | Details |
|---|---|
| Document before anything else | Photograph and video all damage before cleanup, repairs, or discarding items. |
| File within 24–72 hours | Reporting delays give insurers grounds to deny claims regardless of damage severity. |
| Attend the adjuster inspection | Your presence and evidence give you the right to challenge low settlement offers on the spot. |
| File proof of loss on time | This sworn form is due within 30–60 days and missing it can void your entire claim. |
| Keep a communication log | Record every insurer contact with names, dates, and summaries to build your evidence trail. |
What I’ve learned from watching homeowners win and lose claims
The homeowners who get fair settlements are almost never the ones with the most damage. They are the ones with the best records. I have seen significant storm damage claims denied because the homeowner cleaned up before photographing, or because they threw away a damaged appliance before the adjuster arrived. The insurer did not deny those claims out of bad faith. The homeowner simply handed them the justification.
The most common mistake is treating documentation as a chore rather than a legal record. From the moment damage occurs, every photo, receipt, and phone call is potential evidence. Treat it that way. Keep a dedicated folder. Name your files consistently. Write down every conversation the same day it happens.
Safety and thoroughness are not in conflict. You do not have to choose between protecting yourself physically and protecting your claim. Wait until an area is confirmed safe, then document it completely. Insurers accept that delay. What they do not accept is missing evidence.
You have more negotiating power than most homeowners realize. An independent contractor estimate, a complete photo set, and a written communication log give you real leverage when a settlement offer comes in low. Use that leverage. You paid for your policy. The documentation process is how you collect what you are owed.
— Thomasroofingandrepair
Thomasroofingandrepair helps you move from documentation to repair
Storm damage does not wait, and neither should your roof.

Thomasroofingandrepair provides professional roof inspections in Central Florida that generate detailed written reports built for insurance adjuster review. Those reports give your insurer the specific, contractor-verified evidence needed to support your claim. When emergency repairs are required before the adjuster arrives, Thomasroofingandrepair documents every step of the emergency repair process so your claim record stays complete. Serving Brevard, Volusia, and Orange counties, the team understands exactly what Central Florida insurers look for. Contact Thomasroofingandrepair for a free assessment and get your claim moving in the right direction.
FAQ
How soon should I report storm damage to my insurer?
Report damage within 24–72 hours of the storm event. Delays beyond that window give insurers grounds to deny your claim.
What photos do I need for a storm damage insurance claim?
Capture wide, mid-range, and close-up shots of every damaged area. Include a narrated walkthrough video to give adjusters full context alongside your still images.
What is a proof of loss form and when is it due?
The proof of loss form is a sworn legal document separate from your initial claim report. It is typically due within 30–60 days of the loss, and missing the deadline can void your claim.
Can I make repairs before the insurance adjuster visits?
Emergency repairs to prevent further damage are acceptable, but photograph all damage before and after any work. Completing full repairs before the adjuster inspects the property weakens your negotiating position.
What should I do if my claim is denied or the settlement is too low?
Request the written denial explanation, then file a written appeal with supplemental evidence including pre-repair photos and independent contractor estimates. Contact your state’s Department of Insurance if the insurer does not respond to your appeal.