Severe weather in Central Florida takes a toll on roofs, leaving homeowners facing complex replacement decisions. Whether your roof shows storm damage, age-related wear, or failed inspections, understanding the complete replacement process helps you navigate permits, materials, and code compliance with confidence. This guide walks you through every stage of roof replacement in 2026, from initial assessment through final inspection, ensuring your new roof meets Florida’s updated building standards and protects your home for decades.
Table of Contents
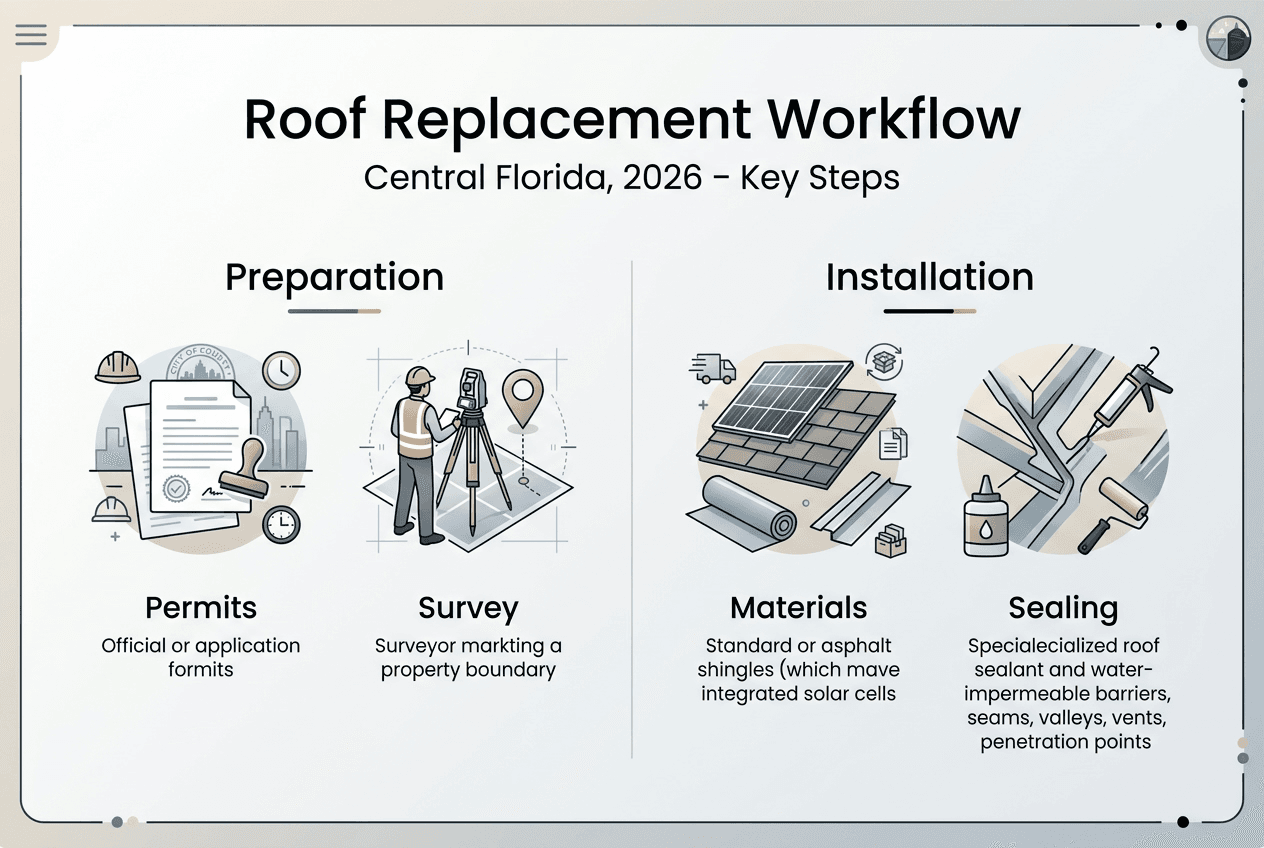
- Preparation: Assessing Your Roof And Legal Requirements
- Step-By-Step Roof Removal And Deck Inspection
- Choosing And Installing Wind-Resistant Roofing Materials
- Verifying Installation, Sealing, And Final Inspections
- Get Professional Help For Your Roof Replacement In Central Florida
- Frequently Asked Questions
Key takeaways
| Point | Details |
|---|---|
| 2026 code compliance | Florida’s 9th Edition Building Code emphasizes water resistance, wind attachment, and sealed roof decks for hurricane protection |
| Wind-resistant materials | Impact-rated shingles, metal roofing, and anchored tiles withstand Central Florida’s extreme weather conditions |
| Thorough deck inspection | Removing old materials allows complete structural assessment and prevents hidden damage from compromising your new roof |
| Proper sealing critical | Valley, flashing, and penetration sealing prevents water intrusion and ensures inspector approval |
| Professional verification | Final inspections confirm hurricane straps, underlayment, and attachment methods meet current standards |
Preparation: assessing your roof and legal requirements
Before you tear off a single shingle, evaluate your roof’s condition and understand what Central Florida regulations require. Walk your property and look for missing shingles, curled edges, granule loss, or visible sagging. Check your attic for water stains, daylight penetration, or soft spots in the decking. Most asphalt roofs last 15 to 20 years in Florida’s climate, but hurricane damage can shorten that timeline dramatically.
The 2026 Florida Building Code brings significant updates for re-roofs. Better water resistance, attachment in high winds, and proof that materials match approved assemblies now dominate permit reviews in Cape Coral and throughout Central Florida. Inspectors scrutinize continuous load paths, which means hurricane straps and metal connectors must tie your roof structure directly to the foundation. Understanding these requirements before you start saves costly mid-project corrections.
Permit applications require detailed documentation. Gather your property survey, existing roof warranty paperwork, and any previous inspection reports. Timing of code adoption and local amendments affects what reviewers demand, especially during changeover years when jurisdictions transition between code editions. Submit applications early to account for review delays, particularly in busy post-storm seasons when permit offices face backlogs.
Here’s a comparison of key 2026 code changes versus prior requirements:
| Code aspect | Pre-2026 standard | 2026 requirement |
|---|---|---|
| Roof deck sealing | Optional in many areas | Mandatory sealed deck systems |
| Wind attachment | Basic nailing patterns | Enhanced fastening with load path verification |
| Underlayment | Standard felt acceptable | High-performance synthetic required in high-wind zones |
| Re-roof documentation | Minimal material specs | Proof of approved assembly matching |
Follow these preparation steps in order:
- Schedule a professional inspection to identify hidden damage and code violations
- Photograph all damage for insurance claims and permit documentation
- Research approved roofing assemblies for your specific wind zone
- Submit permit applications with complete material specifications
- Arrange for dumpster placement and debris removal logistics
- Notify neighbors about project timeline and potential disruptions
Pro Tip: Create a dedicated folder with digital copies of all permits, manufacturer warranties, and inspection photos. Share this folder with your insurance company and keep it updated throughout the project for seamless claim processing and future reference.
Planning a roof replacement in Central Florida requires balancing code compliance with budget and timeline constraints, but thorough preparation prevents expensive surprises.
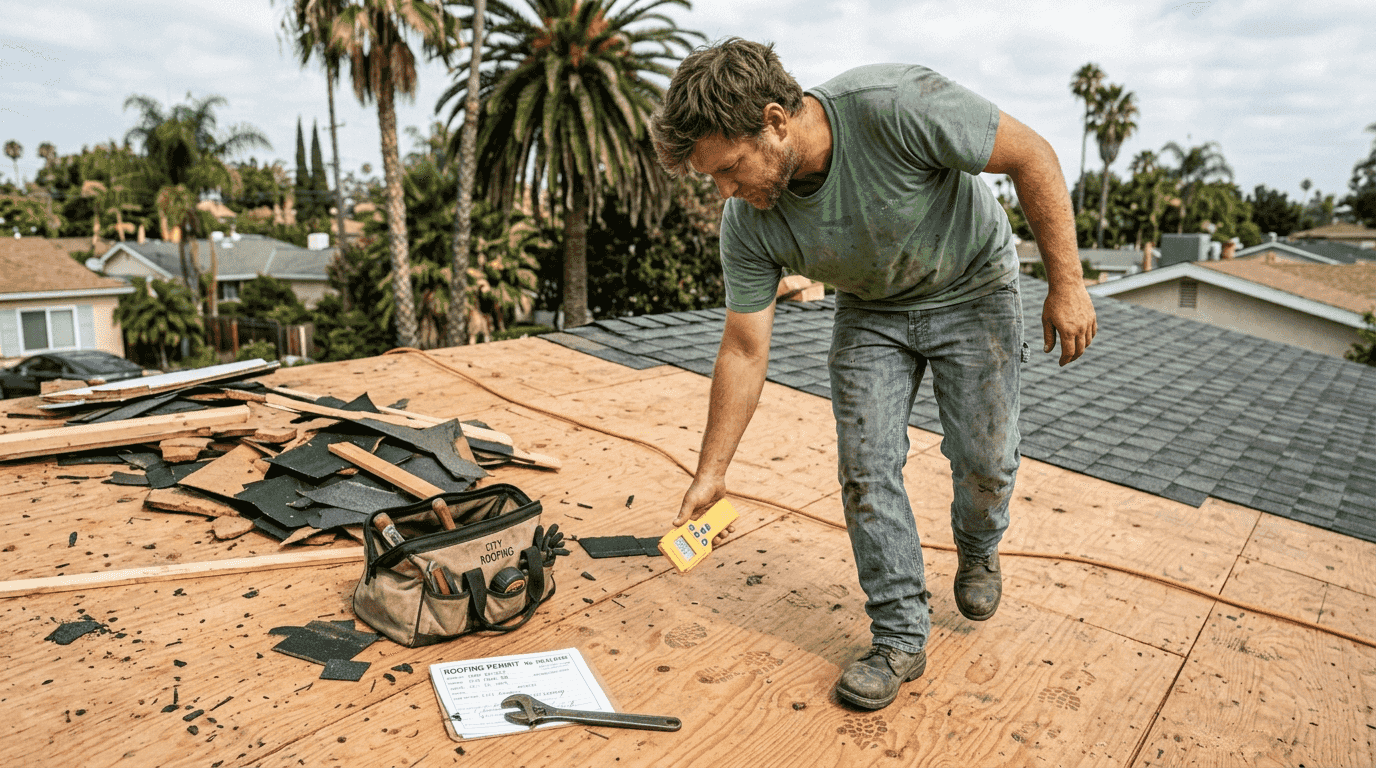
Step-by-step roof removal and deck inspection
Once permits arrive, the physical work begins with systematic removal of old roofing materials. Start at the ridge and work downward in sections, using flat pry bars to lift shingles without damaging the deck below. Pull nails completely rather than pounding them through, as protruding fasteners create weak points in new installations. Bag debris immediately to prevent nail punctures in tires or feet.
Disposal regulations vary by county. Brevard, Volusia, and Orange counties require proper sorting of asphalt, metal, and wood components. Rent a construction dumpster sized for your roof’s square footage, typically 20 to 30 yards for residential projects. Re-roofs often require removing existing layers down to the deck, which increases labor and dump fees but provides inspectors with a clear view of structural integrity.
With the deck exposed, conduct a thorough inspection before proceeding. Walk carefully across the surface, feeling for soft spots that indicate rot or water damage. Check for warped or cracked plywood, loose fasteners, and gaps between panels. Florida’s humidity accelerates wood deterioration, so replace any questionable sections rather than risking future failures. Measure thickness to confirm it meets current code, typically 5/8-inch plywood or 7/16-inch oriented strand board minimum.
Sealed roof deck installation has transformed Florida construction. Water damage claims reduced by 60% in homes with sealed decks during recent hurricanes, proving this requirement saves both property and lives. Apply deck sealant to all joints and fastener penetrations, creating a continuous moisture barrier that protects even if shingles blow off during storms.
Inspect these critical deck elements:
- Nail or screw spacing meets manufacturer specifications for your decking material
- Framing members show no signs of termite damage, rot, or structural compromise
- Moisture barriers from previous installations were properly removed
- All penetrations for vents, chimneys, and skylights have solid backing
- Edge blocking provides adequate nailing surface for drip edge installation
- Valley areas have reinforced decking to handle concentrated water flow
Pro Tip: Use a moisture meter to check decking humidity levels before installing underlayment. Readings above 19% indicate trapped moisture that can cause premature failure. Allow wet areas to dry completely or replace affected sections to avoid warranty issues.
Following a detailed roof replacement workflow for 2026 ensures you catch structural problems before they hide beneath new materials.
Choosing and installing wind-resistant roofing materials
Central Florida’s wind environment demands materials engineered for extreme conditions. Your county determines the minimum wind speed rating, typically 130 to 150 mph in coastal zones. Impact-rated asphalt shingles, metal roofing systems, and properly anchored concrete tiles offer superior wind resistance compared to standard materials. Each category provides distinct advantages for different architectural styles and budgets.
Compare these popular roofing materials for Florida applications:
| Material type | Wind rating | Lifespan | Installation complexity | Cost per square |
|---|---|---|---|---|
| Impact-rated asphalt shingles | Up to 130 mph | 20-25 years | Moderate | $350-$500 |
| Standing seam metal | Up to 150 mph | 40-50 years | High | $800-$1,200 |
| Concrete tiles | Up to 150 mph | 50+ years | High | $600-$900 |
| Architectural shingles (standard) | Up to 110 mph | 15-20 years | Low | $250-$400 |
Installation technique matters as much as material selection. Begin with high-performance synthetic underlayment, overlapping seams by at least six inches and sealing with manufacturer-approved tape. Install drip edge along eaves before underlayment, then along rakes over the underlayment to direct water properly. This sequence prevents wind-driven rain from penetrating behind the edge protection.
Wind uplift is strongest at roof edges, corners, and valleys where wind acceleration reaches maximum intensity. Increase fastener density in these zones according to your approved assembly specifications. For asphalt shingles, use six nails per shingle in field areas but upgrade to eight nails within three feet of edges and ridges. Metal panels require closer screw spacing and additional clips at panel ends.
Code-mandated reinforcements include:
- Hurricane straps connecting rafters to wall plates with galvanized metal brackets
- Continuous load path verification showing force transfer from roof to foundation
- Metal connectors at every rafter-to-beam and beam-to-post junction
- Enhanced valley flashing with ice and water shield extending 18 inches on each side
- Ridge vents secured with long screws penetrating into ridge boards
- Gable end bracing to prevent wall collapse during high winds
Pro Tip: Choose roofing materials with Miami-Dade County approval notices, which represent the strictest wind and impact standards in Florida. Even if you’re outside Miami-Dade, these products provide extra confidence in severe weather performance.
Explore additional roof replacement tips for Florida homeowners and review 2026 roofing code wind standards to ensure your material choices exceed minimum requirements.
Verifying installation, sealing, and final inspections
Proper sealing transforms a good roof into a weatherproof barrier. Start with valley waterproofing, applying ice and water shield or peel-and-stick membrane from eave to ridge without gaps. Overlap seams by six inches minimum and press firmly to eliminate air bubbles. Underlayment and sealing methods are critical for preventing water intrusion, so inspectors scrutinize edge protection, transitions at flashing, and penetration waterproofing carefully.
Flashing installation requires precision at every roof penetration. Cut step flashing pieces to extend four inches under shingles and four inches up vertical surfaces. Seal the top edge with roofing cement but leave the bottom edge free to allow water drainage. Chimney flashing needs counter-flashing embedded in mortar joints, creating a two-part system that accommodates thermal expansion. Skylight installations demand curb flashing with integrated pans to catch and redirect water.
Sealed roof decks minimize water intrusion if shingles or tiles blow off during storms, making deck sealing a non-negotiable 2026 requirement. Apply sealant to all plywood joints before underlayment installation, creating redundant protection layers. This approach saved countless Central Florida homes during recent hurricane seasons.
Inspector-required features to verify:
- Underlayment laps correctly with no reverse laps that channel water inward
- Tight air sealing at all roof-to-wall transitions and penetrations
- Hurricane straps installed at every rafter with proper fastener types and quantities
- Drip edge extends beyond fascia to prevent water wicking back under shingles
- Valley metal or membrane extends full length without splices in high-flow areas
Follow these final inspection steps:
- Contact your building department to schedule the rough inspection before covering the deck
- Walk the roof with the inspector, addressing any concerns immediately
- Document all corrections with photos showing compliance
- Schedule the final inspection after complete installation
- Obtain the certificate of occupancy or completion before making final payment
- File all inspection documents with your insurance company for premium discounts
Never skip or rush the sealing phase to meet artificial deadlines. Cutting corners on waterproofing and wind protection creates liability that far exceeds any time savings, especially when the next hurricane season tests your roof’s integrity.
Understanding when roof replacement versus repair makes sense in Florida helps you make informed decisions about partial fixes versus complete system upgrades.
Get professional help for your roof replacement in Central Florida
Replacing a roof yourself teaches valuable lessons about construction and code compliance, but professional installation offers advantages that DIY approaches can’t match. Licensed contractors carry insurance protecting you from liability if workers are injured on your property. They maintain relationships with inspectors, smoothing the approval process and preventing delays. Most importantly, experienced crews complete installations faster and with fewer errors than first-time roof replacements.

Thomas Roofing & Repair specializes in roof replacement in Central Florida, bringing decades of experience with Florida’s unique weather challenges. Our team stays current with 2026 code updates, ensuring your project passes inspection the first time. We handle permit applications, material sourcing, and warranty registration, removing administrative burdens from your schedule. Whether you need roof replacement in Maitland FL or anywhere across Brevard, Volusia, and Orange counties, our licensed and insured professionals deliver quality installations backed by manufacturer warranties and our workmanship guarantee. Explore our roofing resources for additional guidance on maintenance, storm preparation, and financing options.
Frequently asked questions
How long does a typical roof replacement take in Central Florida?
Most residential roof replacements require three to seven days depending on size, complexity, and weather conditions. Simple ranch-style homes with straightforward layouts finish faster than multi-story properties with multiple valleys and penetrations. Scheduling permits and inspections adds one to three weeks to the overall timeline, particularly during peak construction seasons when building departments face heavy workloads.
What roofing materials provide the best wind resistance in Florida?
Impact-rated shingles, standing seam metal, and anchored concrete tiles deliver superior wind resistance up to 150 mph when properly installed. Metal roofing offers the longest lifespan and highest wind ratings but costs more upfront. Concrete tiles provide excellent durability and fire resistance. Choosing materials meeting or exceeding Florida code requirements protects your investment and may qualify you for insurance discounts of up to 45%.
Do I need a permit for roof replacement in Central Florida?
Permits are mandatory for roof replacement in Central Florida under Florida building codes. Applications require detailed plans showing materials, attachment methods, and compliance with wind load requirements. Processing times vary by jurisdiction, typically ranging from five to fifteen business days. Consult your local building department or work with licensed roofing professionals familiar with current permit requirements to avoid delays and ensure code compliance.
How can I reduce insurance premiums after replacing my roof?
Upgrading to code-compliant roofing systems can save up to 45% on insurance premiums while increasing your home’s storm resistance. Submit your final inspection certificate, manufacturer warranties, and photos of hurricane straps and impact-rated materials to your insurance company. Many insurers offer additional discounts for sealed roof decks, reinforced attachments, and opening protection like impact windows. Higher storm resistance also increases property value and provides peace of mind during hurricane season.
Recommended
- Roof Replacement Workflow 2026: Save $5K & Boost Safety FL
- Roof Replacement in Central Florida – What Homeowners Need to Know
- Roof Repair Process Guide for Homeowners: Step-by-Step Success
- Roof Replacement in St. Cloud, Florida | Thomas Roofing and Repair
- Roofing Company Orlando, FL
- Roofing Company Titusville, FL
- Roofing Company DeLand, FL