
TL;DR:
- A storm damage workflow guides homeowners from safety checks through damage assessment, insurance claims, and repairs to protect their property and claim. Proper documentation before repairs is crucial to avoid claim reductions and disputes, especially in storm-prone areas. Following a structured sequence and engaging professionals early ensures efficient recovery and maximizes insurance coverage.
A storm damage workflow is a structured process that moves you from initial safety checks through damage assessment, insurance claims, and full property restoration. Skipping steps or rushing repairs without documentation is the single most common reason homeowners receive reduced or denied insurance payouts. The workflow covered here integrates storm damage assessment steps, claims filing, and the repair sequence that licensed roofing contractors like Thomasroofingandrepair use across Central Florida. Follow it in order, and you protect both your property and your claim.
What are the essential steps in a storm damage workflow?
The storm damage workflow begins before you touch a single piece of debris. Safety comes first, and that means a full site walk-around to identify hidden hazards before any work starts.
Strict safety protocols require checking for hung branches, downed power lines, and unstable structures before debris removal or inspection. These hazards cause injuries that no insurance payout covers. Walk the full perimeter of your property before stepping onto the roof or entering damaged rooms.
Once the site is clear, follow these storm damage assessment steps in order:
- Check utilities. Confirm gas, electricity, and water are not compromised before entering the structure.
- Exterior walkthrough first. Inspect the roof, gutters, siding, windows, and foundation from the ground using binoculars if needed.
- Document everything before touching anything. Take wide-angle shots of each elevation, then close-up shots of every visible damage point.
- Move interior. Check ceilings for water stains, walls for cracks, and floors for warping or soft spots.
- Note hidden damage signs. Sagging drywall, seal failures around windows, and wet insulation are easy to miss without a checklist.
- Record moisture readings. A moisture meter identifies water intrusion behind walls before it becomes mold.
Pro Tip: Use a drone or binoculars to assess roof damage from the ground. Getting on an unstable roof before a contractor inspects it creates unnecessary risk and can void certain insurance provisions.
Effective storm assessment uses a systematic exterior-to-interior walkthrough with wide-angle and close-up photos taken before any repairs begin. Skipping this step is the fastest path to a coverage denial. A written checklist noting water stains, drywall issues, and seal failures gives you a complete damage capture that adjusters cannot easily dispute.
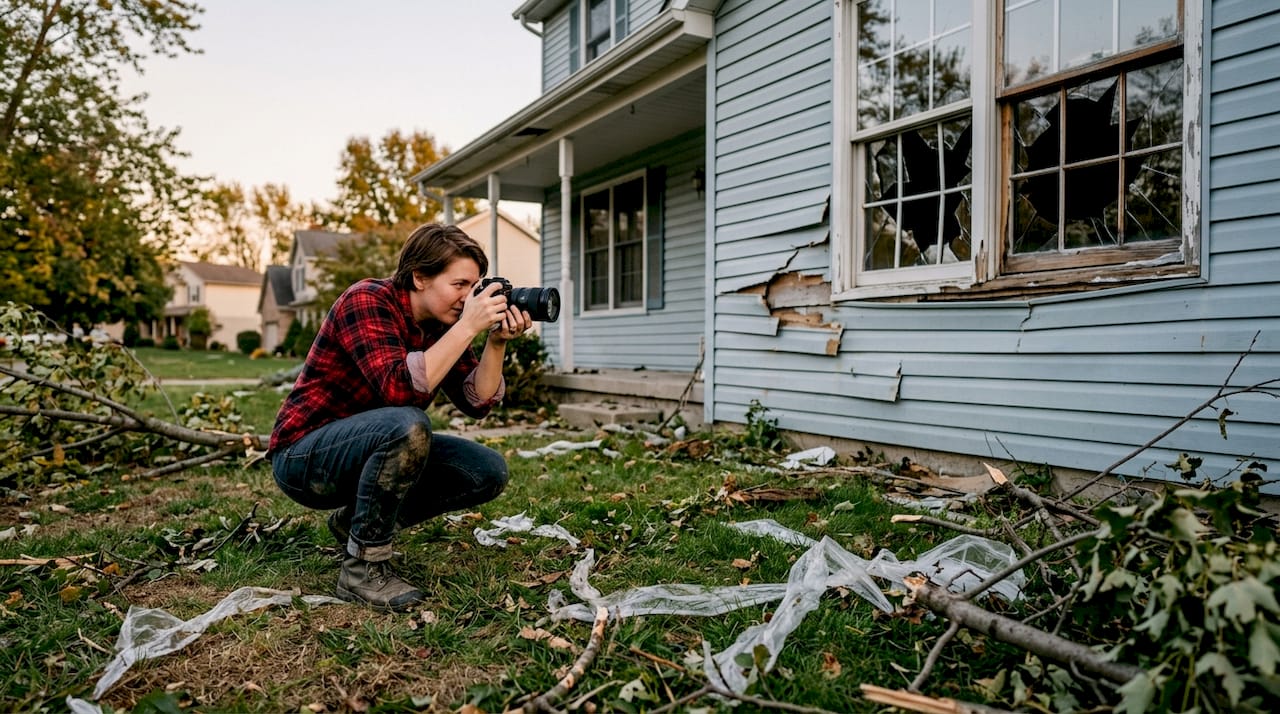
Avoid these common inspection mistakes: entering a structurally compromised area, moving damaged materials before photographing them, and failing to document secondary damage like fence sections or detached gutters. Every item matters when the adjuster calculates your total loss.
How does the storm damage insurance claim process integrate with the workflow?
Filing your claim promptly after completing the damage assessment is the second major phase of the post-storm inspection procedure. Delays give insurers grounds to question whether damage was pre-existing.
The First Notice of Loss, known as FNOL, is your official claim trigger. File it within 24–48 hours of the storm. After FNOL, adjuster appointments are typically scheduled 3–14 days later. That window is your preparation time, not your rest time.
Documented baseline conditions are critical to negotiating insurance claims and avoiding underestimated scopes that lead to out-of-pocket costs. Failure to record pre-repair conditions often results in adjusters reducing claims. Your photos, moisture readings, and written notes from the assessment phase become your negotiating evidence.
Here is how to handle the claims phase effectively:
- Be present during the adjuster’s inspection and walk every damage point with them.
- Provide your own photo documentation alongside theirs.
- Ask for a copy of the adjuster’s scope of loss before signing anything.
- Track all temporary mitigation expenses, including tarps, hotel stays, and emergency board-ups.
- Request a supplement review if the initial payout misses items you documented.
Homeowners who document room-by-room damage plus expenses gain better negotiation leverage, and supplementing claims for missed repairs is standard practice. Adjusters working high-volume storm events move fast. Your documentation slows them down in the right way.
Pro Tip: Engage a licensed public adjuster within 72 hours of the storm. Independent professionals engaged early increase detection of losses that fast-tracked carrier assessments routinely miss.
A structured storm damage claim workflow reduces time-to-payment and increases claim revenue through supplement identification. That outcome is only possible when your assessment documentation is thorough from the start.
What is the recommended storm damage repair process after assessment?
The storm repair process follows a strict sequence. Jumping ahead causes problems that cost more to fix than the original damage.
Emergency mitigation services such as tarping and water extraction should start within 24 hours of the storm. Structural repairs like roof replacement take 3–7 days. Full restoration spans 2–6 weeks depending on the extent of damage. These are not estimates to negotiate around. They reflect the physical reality of drying times, material lead times, and contractor scheduling.
| Repair Phase | Typical Timeline | Key Action |
|---|---|---|
| Emergency mitigation | Within 24 hours | Tarping, water extraction, board-ups |
| Controlled demolition | Days 2–4 | Remove damaged materials after full documentation |
| Drying and monitoring | Days 3–7 | Moisture readings confirm structural dryness |
| Exterior envelope repairs | Days 4–10 | Roof, siding, windows before interior work |
| Interior finishing | Weeks 2–6 | Drywall, flooring, paint after exterior is sealed |
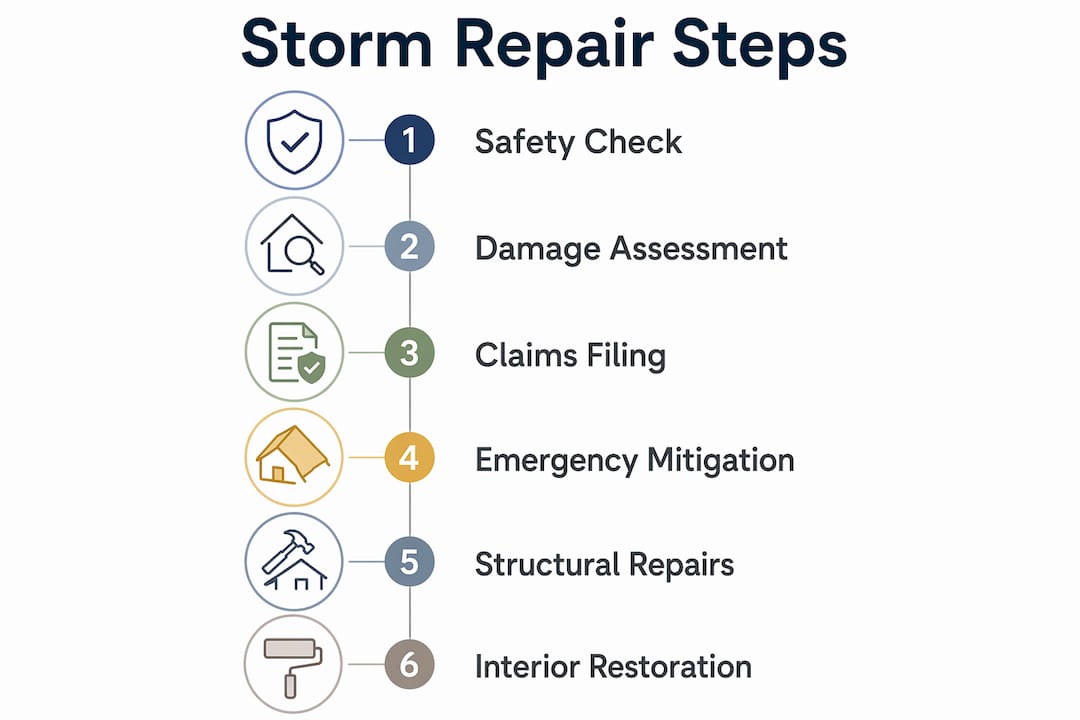
Rushing demolition before a complete damage baseline causes evidence loss that leads to claim denials or disputes. Exhaustive photo and video records before any removal are not optional. They are the foundation of your claim.
Coordinate exterior repairs before interior finishing. A new drywall installation is worthless if the roof still leaks. Thomasroofingandrepair follows this sequence on every Central Florida storm job because skipping it creates callbacks and disputes.
Pro Tip: Align your repair schedule with your insurance documentation timeline. Do not begin permanent repairs until you have written approval from your insurer or a clear understanding of your coverage scope.
Disorganized repairs often stem from poor coordination between demolition, drying, and insurance documentation phases. A professional storm restoration plan integrates all three phases so nothing falls through the gaps.
What tools and documentation practices make the workflow succeed?
Good documentation tools are what separate a successful claim from a disputed one. The right practices cost nothing extra and protect everything.
Start with your smartphone. Date and time stamps are automatic, and geotagging confirms the location. Shoot in the highest resolution available. For roof surfaces, a drone gives you coverage that ground-level photos cannot match. Binoculars work as a low-cost alternative for initial assessment.
Damaged materials must be documented before removal with exhaustive photos and moisture readings to prevent insurance claim disputes or denials. This applies to every damaged component: shingles, insulation, drywall, flooring, and structural framing. Label your photos by room and damage type so the adjuster can follow your logic.
Beyond photos, maintain these records throughout the workflow:
- Written damage log with dates, times, and descriptions for each area
- Receipts for all emergency mitigation expenses
- Moisture meter readings with timestamps and locations
- Material samples from damaged components when possible
- Contractor estimates and signed contracts
Pro Tip: Create a dedicated folder on your phone or cloud storage labeled with the storm date. Keep every photo, receipt, and document in one place. Adjusters and contractors both respond faster when you can share organized evidence immediately.
For property managers handling multiple units, a CRM or project management tool like Buildertrend or a simple shared spreadsheet tracks inspection status, claim numbers, and repair phases across properties. The Florida-specific assessment workflow from Thomasroofingandrepair includes checklist templates built for the region’s storm patterns. Using a pre-built checklist prevents the gaps that cost homeowners coverage.
Proactive documentation also prevents the most common coverage denial trigger: the insurer claiming damage was pre-existing. Date-stamped photos taken immediately after the storm establish a clear before-and-after record that is very difficult to dispute.
Key Takeaways
A successful storm damage workflow requires completing safety checks, thorough documentation, and prompt claims filing before any repair work begins.
| Point | Details |
|---|---|
| Safety before inspection | Complete a full site walk-around to identify power lines, hung branches, and unstable structures first. |
| Document before demolition | Photograph and record moisture readings for every damaged area before removing any materials. |
| File FNOL within 48 hours | Prompt claims filing after assessment prevents insurers from questioning whether damage is pre-existing. |
| Follow the repair sequence | Complete emergency mitigation, then exterior repairs, then interior finishing to avoid rework. |
| Engage a public adjuster early | Independent adjusters engaged within 72 hours catch losses that fast-tracked carrier assessments miss. |
What I have learned from watching homeowners rush the process
The most expensive mistake I see is homeowners treating the storm damage workflow as a repair checklist rather than a documentation process. They tarp the roof, call a contractor, and start tearing out wet drywall before a single adjuster has set foot on the property. Then they wonder why their claim comes back short.
The damage baseline is the whole game. Every repair decision, every claim negotiation, and every contractor conversation flows from what you captured in the first 24–48 hours. If you did not document it, it effectively did not happen as far as your insurer is concerned.
The second pattern I see is homeowners who are passive during the adjuster visit. They let the adjuster walk the property alone, hand over a scope of loss, and accept it without question. That is a mistake. You are the one who walked every room with a checklist. You know where the water stain behind the closet wall is. Show the adjuster. Ask questions. Bring your photos.
Central Florida properties face storm exposure that most of the country does not. Brevard, Volusia, and Orange counties see hurricane-force winds, heavy rain events, and hail that combine to create damage patterns that are easy to underestimate from a quick walkthrough. A structured workflow is not bureaucracy. It is the only reliable way to get a fair outcome.
— Thomasroofingandrepair
Thomasroofingandrepair is ready when the storm clears
Storm damage in Central Florida moves fast, and so does the window for a strong insurance claim.

Thomasroofingandrepair serves homeowners and property managers across Brevard, Volusia, and Orange counties with a proven emergency roof repair workflow built for Florida’s storm season. From same-day tarping to full roof replacement, the team handles documentation, contractor coordination, and repair sequencing so your claim stays on track. Whether you need roof installation in Titusville or emergency repairs in Rockledge, Thomasroofingandrepair delivers the craftsmanship and response time Central Florida homeowners count on. Contact Thomasroofingandrepair today for a free estimate and get your storm recovery started the right way.
FAQ
What is a storm damage workflow?
A storm damage workflow is a structured, step-by-step process that moves from safety checks and damage assessment through insurance claims filing and full property repair. Following the workflow in order protects your claim and prevents costly repair mistakes.
When should I file a storm damage insurance claim?
File your First Notice of Loss within 24–48 hours of the storm. Adjuster appointments are typically scheduled 3–14 days after filing, so use that window to organize your documentation.
Why does documentation matter before repairs start?
Damaged materials must be documented before removal with photos and moisture readings to prevent insurance claim disputes or denials. Repairs made before documentation give insurers grounds to reduce or deny your payout.
How long does storm damage repair take?
Emergency mitigation like tarping and water extraction should start within 24 hours. Roof replacement typically takes 3–7 days, while full interior and exterior restoration spans 2–6 weeks depending on damage severity.
Should I hire a public adjuster after storm damage?
Yes. Independent professionals or public adjusters engaged within 72 hours of the storm increase detection of losses that fast-tracked carrier assessments routinely miss, particularly after high-volume storm events.