
TL;DR:
- Regular roof inspections in Central Florida help detect hidden damage caused by severe weather and prevent costly repairs. Proper preparation, including documentation and roof clearing, ensures a smoother inspection process and better leverage during repairs or insurance claims. Proactive roof maintenance, combined with expert guidance, enhances home protection and preserves long-term value.
Central Florida homeowners often face a rude awakening when a routine roof inspection suddenly turns into an urgent repair bill or an insurance dispute. The truth is, most of those surprises are preventable. A roof inspection doesn’t have to be a stressful event you dread. With the right preparation, it becomes a powerful checkpoint that protects your home, validates your insurance coverage, and catches small problems before they grow into expensive disasters. This guide walks you through every step, from gathering your documents to knowing what to do after the inspector leaves.
Table of Contents
- Why roof inspections matter in Central Florida
- Tools, materials, and documents to gather before an inspection
- Step-by-step: Preparing your roof for inspection
- What to expect during the inspection and avoid common mistakes
- After the inspection: Reviewing your results and next steps
- Our perspective: Stop seeing inspections as a hassle, make them your advantage
- Get expert help for your next roof inspection
- Frequently asked questions
Key Takeaways
| Point | Details |
|---|---|
| Preparation prevents surprises | Being organized and proactive before an inspection surfaces issues early and avoids costly repairs. |
| Maintenance documentation is crucial | Having maintenance records and insurance details ready streamlines the inspection and protects your coverage. |
| Clean and accessible roofs pass | Clear debris and ensure easy access so inspectors can evaluate your roof without barriers. |
| Review inspection results promptly | Quickly interpreting your report and resolving issues helps maintain roof integrity and insurance. |
| Inspections are an opportunity | Treating inspections as routine care, not just compliance, can save money and increase peace of mind. |
Why roof inspections matter in Central Florida
Living in Central Florida means living with some of the most intense weather conditions in the country. Hurricanes, tropical storms, intense UV radiation, and high humidity don’t just wear down a roof over time. They can create sudden, serious damage that isn’t always visible from the ground.
Regular roof inspections are essential because they catch what you can’t see. A missing piece of flashing, cracked caulking around a vent, or soft spots in the decking may not look alarming from your yard, but they can allow water intrusion that leads to mold, structural rot, and ceiling damage inside your home.
Here’s what’s at stake when you skip or delay inspections:
- Insurance compliance: Many Florida homeowners insurance policies require proof of regular inspections. Failing to provide this can lead to claim denials after storm damage.
- Hidden water damage: Leaks often travel several feet before showing up as a ceiling stain. By the time you notice it, damage is already severe.
- Reduced home value: A poorly maintained roof shows up in home appraisals and buyer negotiations. Documented inspections protect your equity.
- Storm readiness: Central Florida’s weather increases your risk for roof damage year-round, and inspections confirm your roof can handle the next storm.
“An inspection isn’t just a formality. It’s your clearest window into the true condition of one of your home’s most critical systems.”
Inspections also give you leverage. If a contractor recommends an expensive repair, an independent inspection report either confirms or questions that recommendation. You’re never flying blind when you have documented evidence of your roof’s condition.
Tools, materials, and documents to gather before an inspection
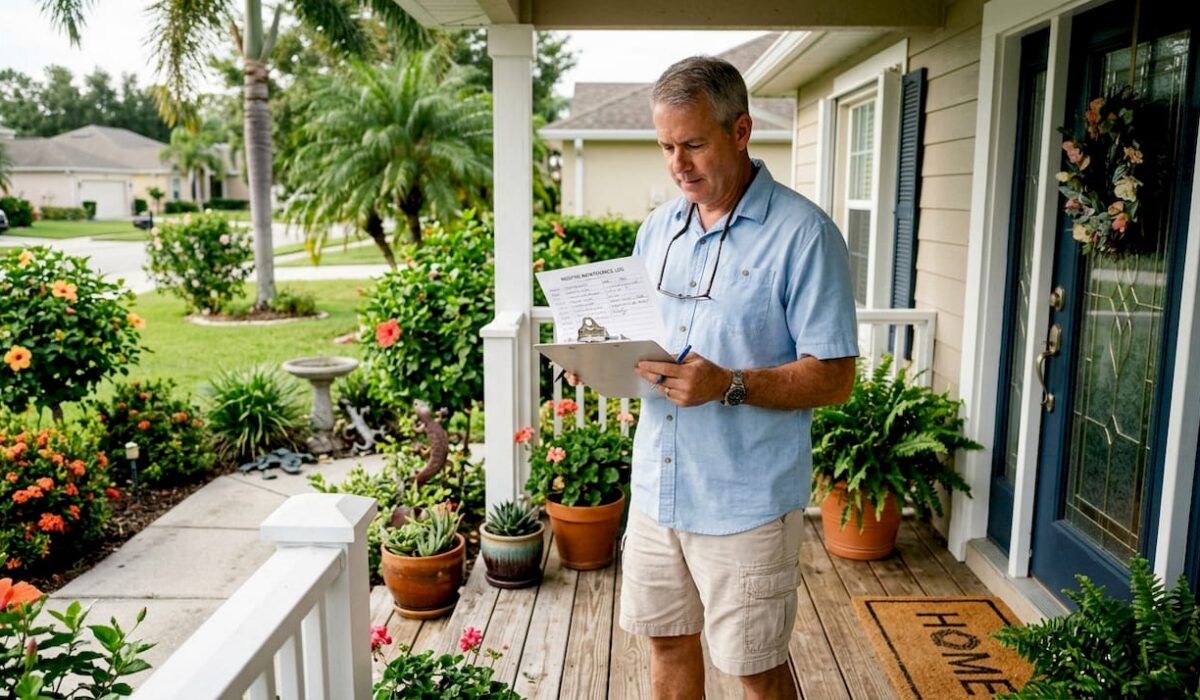
Preparation before the inspector arrives sets the tone for the entire process. Homeowners who show up with organized records, clear notes, and a plan tend to have faster, smoother inspections with fewer surprises.
Start by gathering the following:
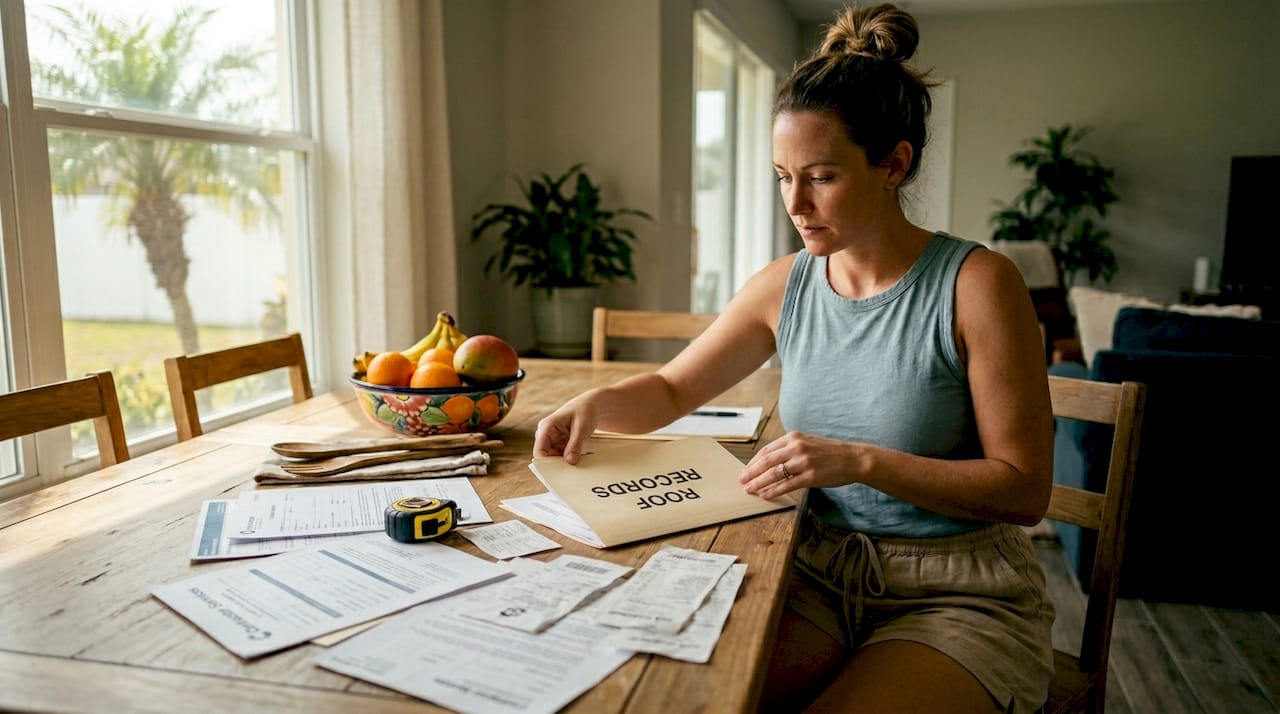
Documents to have ready:
- Your current homeowners insurance policy, specifically the roof coverage section
- Any existing roof warranty, including the manufacturer’s warranty on shingles and any contractor workmanship warranty
- Receipts or records from previous roof maintenance work, repairs, or replacements
- A written list of any known issues, such as areas where you’ve noticed leaks, staining, or cracked shingles
Tools to have on hand:
- A flashlight for attic access
- A camera or smartphone to document any areas of concern
- Safety gloves if you plan to clear debris from the roof before the inspector arrives
Gathering maintenance records and insurance documents can speed up the inspection and reduce confusion, especially when the inspector asks about previous repairs or coverage history.
Pro Tip: Create a simple folder, physical or digital, labeled “Roof Records” and keep every invoice, permit, warranty, and photo of your roof in one place. This one habit saves hours of searching when an inspector or insurance adjuster asks for history.
Here’s a quick comparison of homeowners who prepare versus those who don’t:
| Preparation factor | Prepared homeowner | Unprepared homeowner |
|---|---|---|
| Inspection duration | Faster, more focused | Longer, more questions |
| Insurance compliance | Easily verified | Delays or disputes |
| Repair cost negotiation | Data-backed | Dependent on inspector’s word alone |
| Post-storm claim approval | Smoother process | Higher risk of denial |
| Surprise findings | Fewer and less severe | More likely and more costly |
Taking 30 minutes to gather this information before the roof inspection can make a measurable difference in the outcome.
Step-by-step: Preparing your roof for inspection
Physical preparation of the roof itself is just as important as the paperwork. Inspectors note everything, and arriving at a roof covered in debris or with blocked gutters signals neglect, even if the underlying structure is sound.
Follow these steps in the days before your inspection:
- Clear all debris from the roof surface. Leaves, branches, moss, and algae buildup should be removed. These materials trap moisture and can hide damage underneath. Use a soft broom or leaf blower to clear the surface gently without lifting or cracking shingles.
- Inspect gutters and downspouts. Cleaning gutters and removing debris helps avoid negative remarks in the inspection report, and also prevents water from backing up under your shingles during a rainstorm.
- Walk the perimeter of your home. Look up at the roofline for obvious issues: missing shingles, sagging areas, damaged flashing around chimneys or vents, or any areas where the edge of the roof appears uneven.
- Check your attic. Look for signs of water staining on the roof deck, daylight coming through where it shouldn’t, and adequate ventilation. These are things the inspector will check and that you want to flag proactively.
- Remove obstacles from roof access points. Make sure ladders can reach the roof safely, and clear away anything blocking the inspector’s path to access panels, hatches, or skylight areas.
- Take “before” photos. Photograph the entire roof from multiple angles and document any areas of concern. This creates a baseline record and protects you if any dispute arises about what condition the roof was in when the inspection began.
Use this quick reference table to time your prep:
| Task | When to complete |
|---|---|
| Clear roof debris | 1 to 2 days before inspection |
| Clean gutters | 2 to 3 days before inspection |
| Gather documents | 3 to 5 days before inspection |
| Check attic | Day before inspection |
| Take before photos | Morning of inspection |
| Remove access obstacles | Morning of inspection |

Pro Tip: If you notice a shingle that’s visibly cracked, curled, or missing, don’t ignore it before the inspection. Review these roof inspection preparation steps and consult a professional about whether a quick repair before the inspection is appropriate. An inspector will note the damage either way, but making a repair and documenting it shows proactive care.
Don’t overlook roof maintenance tips specific to Florida homes, especially when it comes to algae and moss treatment, which is more common here than in cooler climates.
What to expect during the inspection and avoid common mistakes
Knowing what the inspector actually does can remove a lot of anxiety from the process. A standard residential roof inspection covers two main areas: the exterior and the interior.
Exterior inspection points:
- Shingle condition: cracking, curling, blistering, granule loss
- Flashing integrity around chimneys, vents, skylights, and valleys
- Gutter and downspout condition
- Ridge cap and soffit condition
- Signs of moss, algae, or biological growth
- Structural issues like sagging or uneven roof planes
Interior inspection points:
- Attic insulation and ventilation
- Signs of moisture, mold, or water staining on the roof deck
- Rafters and sheathing for signs of rot or structural weakness
One of the most common and costly mistakes homeowners make is not being present during the inspection. Not being present or failing to provide access to attic spaces can delay or compromise the outcome. You’re the one who knows the history of your home. Your presence allows you to answer questions, provide context, and catch anything that seems off in real time.
“Being present during your inspection isn’t just courteous, it’s strategic. You can clarify, correct, and learn firsthand what your roof needs.”
Other mistakes to avoid:
- Failing to disclose known issues. Tell the inspector about the spot where you’ve noticed a water stain or a shingle that blew off last hurricane season. Withholding this slows the process and can create credibility issues with your insurer later.
- Not asking for a written report. Verbal summaries are forgettable and unprovable. Always request a formal written report with photos and specific findings.
- Hiring the wrong inspector. Work with licensed professionals and, if needed, get a second opinion. Review these contractor hiring tips before committing to anyone.
Pro Tip: Ask the inspector to walk you through findings before they leave. A 10-minute verbal walkthrough translates the written report into real action items you actually understand and remember.
After the inspection: Reviewing your results and next steps
Receiving your inspection report is not the end of the process. It’s the beginning of your roof management plan. A thorough report will include a summary of conditions, specific findings with photos, and a list of recommended repairs or further evaluations.
Here’s how to review and act on your results:
- Read the entire report carefully. Don’t skip the summary section. It typically classifies issues by urgency: immediate action, monitoring recommended, or no action needed.
- Prioritize structural and water-related findings. Any mention of decking rot, compromised flashing, or active leaks should move to the top of your repair list. Promptly addressing issues flagged in the inspection saves money and prevents escalation.
- Get repair estimates quickly. For urgent repairs, don’t wait. Contact a licensed roofing contractor within a week of receiving your report.
- Document all follow-up actions. Keep receipts and records of every repair made after the inspection. This documentation builds your history and strengthens future insurance claims.
- Schedule your next inspection. Based on the findings, determine when the next inspection should happen. If your roof is aging or had significant issues, a 6-month follow-up may be warranted instead of waiting a full year.
| Finding type | Urgency level | Recommended action |
|---|---|---|
| Active leak or water intrusion | Immediate | Call contractor within 24 to 48 hours |
| Missing or damaged shingles | High | Repair within 1 to 2 weeks |
| Minor flashing concerns | Moderate | Address within 1 to 3 months |
| Ventilation improvements | Low | Plan for next maintenance cycle |
| No issues noted | None | Schedule next annual inspection |
For inspiration on what kinds of repairs might be needed, browse roof repair examples to understand the scope and cost of common issues before talking to a contractor.
Our perspective: Stop seeing inspections as a hassle, make them your advantage
Here’s the honest truth from years of working roofs across Brevard, Volusia, and Orange counties: most of the expensive roof emergencies we respond to were entirely avoidable. Not because the damage was unpreventable, but because no one had looked at the roof in years.
Homeowners tend to think about their roof in two modes: when everything is fine and they forget it exists, or when something is visibly wrong and panic sets in. There’s almost no middle ground, and that gap is exactly where the expensive problems live.
We’d argue that a well-prepared, proactively scheduled inspection is one of the smartest financial moves a Florida homeowner can make. Not because we say so, but because the math is clear. Catching a flashing failure early costs a few hundred dollars. Discovering that same failure after two rainy seasons of unchecked water intrusion can mean mold remediation, structural repairs, and a full insurance claim battle that takes months to resolve.
Inspections also influence your insurance premiums. Insurers reward documented maintenance. A clean inspection record signals low risk. Some carriers will reduce premiums or avoid non-renewals when you can show regular, documented roof care. The reverse is also true. Review our storm damage repair guide to understand what post-storm damage really looks like, because many homeowners don’t even recognize what to report.
The mindset shift we encourage is simple: treat your roof inspection the way you treat a car oil change. It’s not a repair. It’s maintenance. It’s prevention. And when you pair that mindset with the kind of proactive roof management this guide outlines, you move from reactive homeowner to informed protector of your biggest asset.
Get expert help for your next roof inspection
Preparation is powerful, but having the right team behind you makes all the difference. At Thomas Roofing and Repair, we work with homeowners across Central Florida to make roof inspections as smooth and informative as possible, and to handle whatever comes next.

Whether you need help with pre-inspection prep, post-inspection repairs, or emergency response, our team is ready. Explore our emergency roof repair workflow to know exactly what to do when damage strikes fast. For homeowners focused on long-term durability, our roof craftsmanship guide explains how quality installation protects you for decades. And when you’re ready to talk options, our residential roofing services page covers everything we offer for Orlando-area homeowners. Contact us today for a free estimate and let’s make your roof inspection-ready year-round.
Frequently asked questions
How long does a roofing inspection typically take?
A standard roof inspection usually takes between 30 minutes and 2 hours, depending on roof size and complexity. Larger homes with multiple roof planes, skylights, or attic spaces naturally take longer to evaluate thoroughly.
What happens if my roof fails inspection?
You’ll receive a written report outlining specific issues and repair recommendations. Acting promptly on those recommendations is the fastest way to restore coverage and prevent further deterioration.
Can I prepare my roof for inspection myself?
Many prep steps like debris removal, gutter cleaning, and visual checks are well within reach for most homeowners. However, basic roof prep is different from repairing structural issues, which should always be handled by a licensed professional.
Which documents should I provide during a roof inspection?
Bring your homeowners insurance policy, any existing roof warranties, and records of past repairs or maintenance. Documentation aids the inspector’s evaluation and reduces back-and-forth with your insurer if a claim follows.
How often should I schedule roof inspections in Central Florida?
Annual inspections are the baseline, but you should also schedule an inspection after any major storm event. Florida’s weather is unpredictable, and waiting a full year after hurricane activity can allow hidden damage to worsen significantly.