TL;DR:
- A storm damage assessment workflow is a systematic process of inspecting, documenting, and reporting damages to support insurance claims. Conducting this assessment within 24 hours using calibrated tools and thorough documentation ensures stronger claim protection and prevents secondary issues like mold. Proper preparation, careful inspection, and organized evidence collection are essential for maximizing insurance reimbursement and guiding restoration efforts.
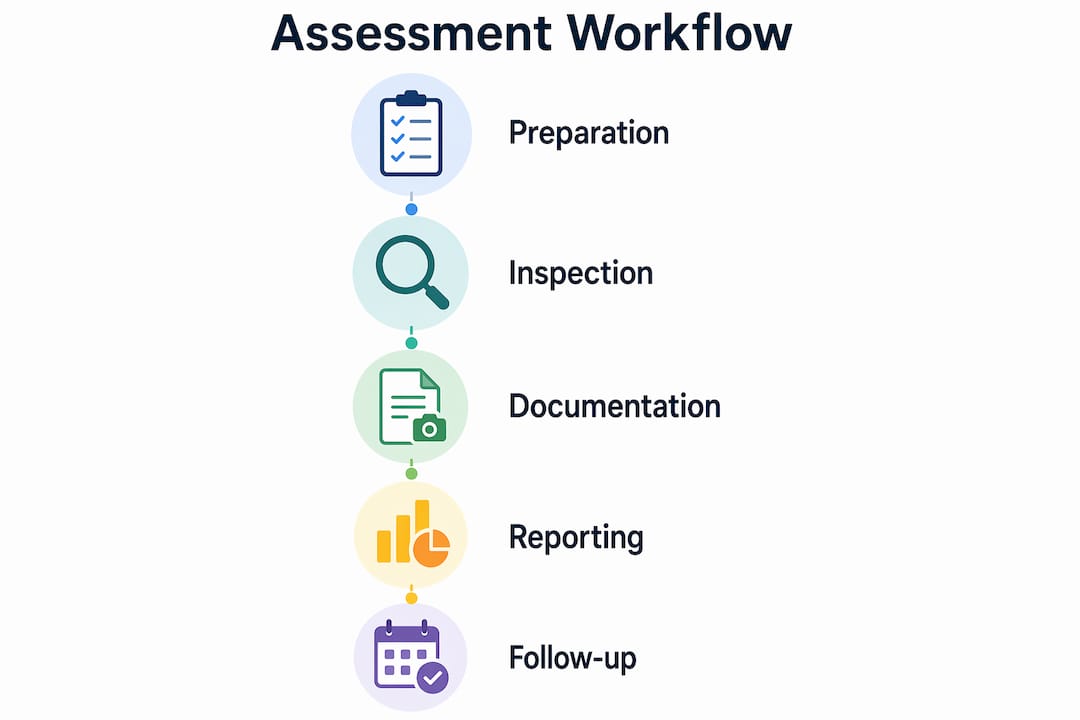
A storm damage assessment workflow is a structured, step-by-step process of inspecting, documenting, and reporting storm-related property damage to support insurance claims and guide restoration. For homeowners and property managers in Central Florida, where hurricanes and tropical storms are a seasonal reality, getting this process right separates a paid claim from a denied one. The core storm damage assessment steps cover safety checks, exterior and interior inspection, moisture detection, and organized documentation. Starting within 24 hours after the storm gives you the strongest possible claim position and limits secondary damage like mold.
What is the storm damage assessment workflow?
A storm damage assessment workflow, also called a preliminary damage assessment (PDA) in industry and FEMA terminology, is the formal process of recording what a storm destroyed, damaged, or compromised on your property. The goal is twofold: prove the damage occurred and link it directly to the storm event. Without a structured workflow, you risk missing hidden damage, submitting incomplete documentation, and giving your insurer grounds to reduce or deny your claim.
Central Florida homeowners face a specific challenge. After a major hurricane, insurance adjusters handle hundreds of properties at once. Adjusters can miss damage due to time pressure, which means your independent documentation is your best protection. The workflow described in this guide follows standards referenced by ASTM E2018-21, FEMA PDA guidelines, and ISO-calibrated measurement protocols.
What tools and preparations do you need before starting?
The right tools determine whether your assessment holds up under insurer scrutiny. Gather these before you step outside after any storm.
Essential assessment tools:
- Calibrated moisture meter: Detects hidden water intrusion in walls, ceilings, and floors. ISO-calibrated meters operate within ±5% variance, which meets insurance-grade evidence standards.
- Thermal imaging camera: Identifies moisture pockets and insulation damage invisible to the naked eye, per ANSI/ASHRAE 90.1 standards.
- Digital camera or smartphone: Captures timestamped photos and video. Use the highest resolution setting available.
- Drone or binoculars: Lets you inspect the roof and upper exterior without climbing. Avoid climbing roofs after a storm; use technology instead.
- Notepad or damage log app: Records observations, measurements, and timestamps in real time.
- Safety gear: Hard hat, gloves, and non-slip boots for any ground-level exterior inspection.
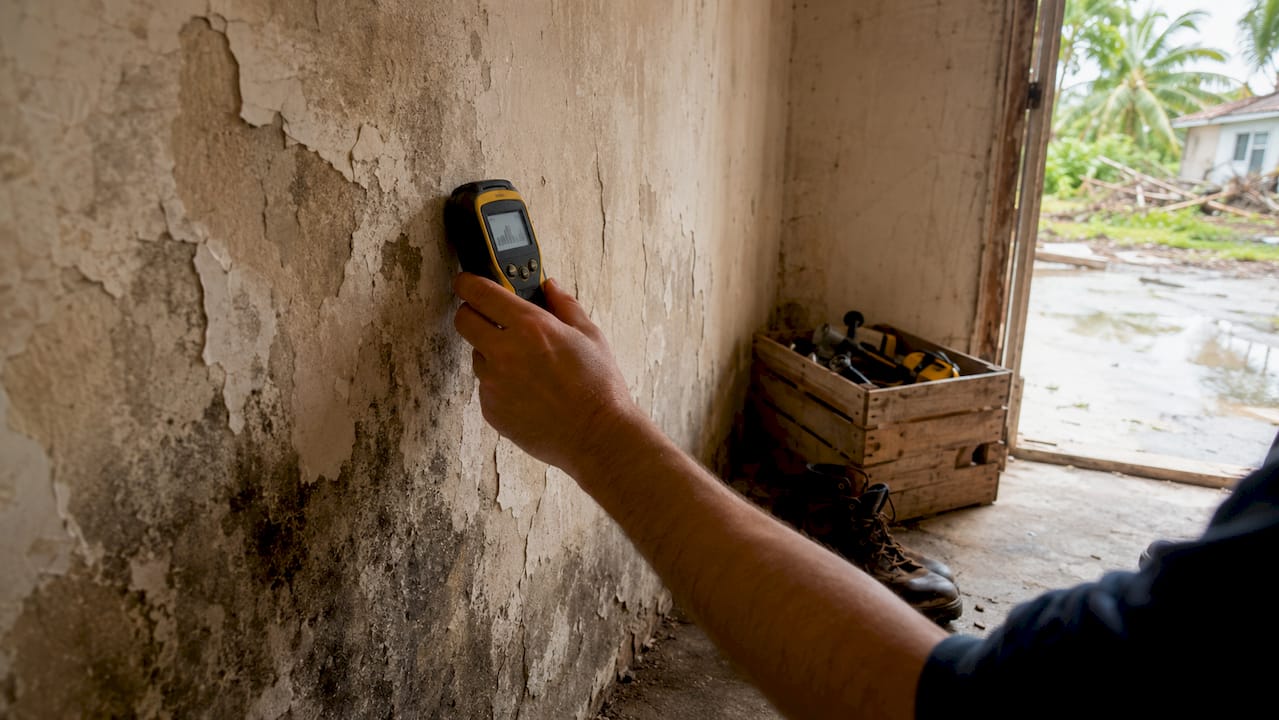
Before you start, confirm the property is safe to enter. Check for downed power lines, gas leaks, and structural instability. Contact your utility provider if you suspect a gas or electrical hazard. Prepare a reference sheet with the storm date, time, reported wind speeds, and your property’s address and insurance policy number. That context ties your documentation directly to the event.
| Tool | Purpose | Key Limitation |
|---|---|---|
| Moisture meter | Detects hidden water intrusion | Requires calibration to ISO standards |
| Thermal camera | Finds insulation and moisture damage | Expensive; often requires a professional |
| Drone | Inspects roof without climbing | Requires FAA Part 107 license for commercial use |
| Digital camera | Timestamped photo and video evidence | Only captures visible surface damage |
| Binoculars | Ground-level roof scan | Limited detail compared to close-up inspection |
Pro Tip: Set your camera’s date and time stamp before you begin. Timestamps are one of the first things an insurance adjuster checks when reviewing photo evidence.
How do you conduct a step-by-step storm damage inspection?
This is the core of the storm damage evaluation process. Follow these steps in order. Skipping steps or changing the sequence weakens your documentation.
-
Conduct a perimeter safety scan. Walk the exterior from a safe distance before approaching the structure. Look for downed trees, broken glass, structural collapse, or debris that could cause injury. Do not enter the property until you confirm it is structurally sound.
-
Document exterior damage from the ground up. Photograph the full exterior of the building from each corner. Capture the roof, gutters, siding, windows, doors, and any outbuildings. Use wide-angle shots first to establish context, then move to close-ups of specific damage points. Wide-angle context shots link damage clearly to the storm event in the insurer’s review process.
-
Inspect the interior from top to bottom. Start in the attic or top floor and work downward. Look for water stains, wet insulation, cracked drywall, and any signs of structural movement. Water travels along rafters and wall studs, so damage often appears far from the actual breach point.
-
Take moisture readings throughout. Use your calibrated moisture meter on walls, ceilings, and floors in every room, not just visibly wet areas. Baseline moisture readings taken immediately after a storm serve as forensic evidence in insurance settlements. Record each reading with its exact location.
-
Run thermal imaging scans. Scan walls and ceilings with a thermal camera to identify hidden moisture pockets and compromised insulation. This step catches damage that photos alone will miss and is especially valuable in Central Florida’s humid climate, where water intrusion spreads fast.
-
Build a detailed damage inventory. List every damaged item and area with a description, estimated severity, and photo reference number. Annotate photos with labels identifying the damage type. Timestamps on every entry are non-negotiable.
-
Preserve damaged materials before any cleanup. Document before touching any damaged area. If you must remove debris for safety, photograph it in place first, then set it aside rather than discarding it. Your insurer may need to inspect physical evidence.
Common pitfalls to avoid:
- Cleaning up before photographing
- Photographing only the most obvious damage and skipping minor areas
- Failing to record moisture readings in rooms that look dry
- Not noting the weather conditions during your inspection
Pro Tip: Use a free damage log app like Encircle or iAdjuster to organize photos, notes, and readings by room. These apps export insurance-ready reports directly.
For hard-to-reach areas, a drone gives you aerial coverage of the roof and upper walls without any safety risk. Check out storm damage roof examples to understand what specific damage patterns look like before you start your inspection.
How do you document damage to meet insurance requirements?
Insurance claim approval depends on documentation quality as much as damage severity. The storm damage assessment steps you follow must produce a record that satisfies your insurer’s review criteria.
Documentation standards that protect your claim:
- Complete your assessment ideally within 24 hours. FEMA PDA protocols require state and local partners to submit assessments within 30 days of an incident, but your personal documentation should begin immediately.
- Record the date, time, and weather conditions at the start and end of your inspection.
- Follow the “context first, detail second” rule. Wide shots establish the scene; close-ups prove the damage. This sequence is the standard that claims reviewers expect.
- Maintain a written damage log with itemized entries for every affected area, including room name, damage type, and estimated square footage.
- Document every temporary repair you make. Applying a tarp to a leaking roof is a mitigation step. Temporary repairs must be documented step by step to satisfy your insurer’s “failure to mitigate” clause, which can otherwise be used to reduce your payout.
“Mold can begin developing within 24–48 hours after water intrusion. Homeowners must mitigate immediately and document every step to avoid claim denial on failure-to-mitigate grounds.” — Advanced DRI
When your insurer’s adjuster arrives, share your full documentation package: timestamped photos, moisture readings, thermal images, damage inventory, and a record of any temporary repairs. Ask the adjuster to walk through the property with you and note any areas they skip. If their report differs significantly from yours, you have the right to request a re-inspection or hire a public adjuster.
Pro Tip: Never submit your claim without a written damage summary. A one-page narrative describing the storm event, the damage found, and the mitigation steps you took gives your adjuster context that photos alone cannot provide.
For a broader look at the full restoration process, the storm damage restoration guide from Thomasroofingandrepair covers what comes after the assessment.
What technology improves storm damage evaluation accuracy?
Post-storm assessment techniques have advanced well beyond a clipboard and a camera. Modern tools catch damage that visual inspection misses and produce documentation that holds up under insurer scrutiny.
Moisture meters calibrated to ISO standards detect water intrusion in structural materials before visible signs appear. A reading above the baseline in a wall cavity confirms water penetration even when the surface looks dry. This matters in Central Florida, where high ambient humidity can mask moisture readings if your meter is not properly calibrated.
Thermal imaging cameras, used per ANSI/ASHRAE 90.1 guidelines, identify temperature differentials that indicate wet insulation, air gaps, and moisture pockets behind finished surfaces. A single thermal scan of a ceiling can reveal a water path that would take days to show up as a stain.
Drones with high-resolution cameras map roof damage, missing shingles, and impact zones without anyone climbing. Aerial imagery also captures the full scope of damage across large commercial properties or multi-unit buildings in a fraction of the time a manual inspection takes.
Damage annotation software like Xactimate, Encircle, or iAdjuster organizes photos, measurements, and notes into insurance-ready reports. These platforms categorize damage by type and location, which speeds up adjuster review and reduces back-and-forth disputes.
| Technology | Best Use | Standard Referenced |
|---|---|---|
| Calibrated moisture meter | Hidden water intrusion detection | ISO ±5% variance |
| Thermal imaging camera | Insulation and moisture mapping | ANSI/ASHRAE 90.1 |
| Drone | Roof and aerial impact zone mapping | FAA Part 107 |
| Annotation software | Insurance-ready report generation | Xactimate, Encircle |
Using these tools together produces a forensic-quality record. Forensic moisture readings taken immediately post-storm are the strongest evidence you can present in a disputed claim. That evidence is nearly impossible to reconstruct after cleanup begins.
What i’ve learned about storm assessments after years in central florida roofing
Most homeowners wait for the insurance adjuster to tell them what the storm did to their property. That is the single biggest mistake I see after every hurricane season in Brevard, Volusia, and Orange counties.
Adjusters are professionals, but they are also stretched thin after a major storm. A rushed inspection on a busy day means missed damage, and missed damage means money out of your pocket. The first 24–72 hours after a storm are when your claim position is strongest. Every hour you wait, evidence degrades, mold advances, and your leverage shrinks.
The homeowners who get full claim payouts are the ones who document everything before touching anything. They photograph the debris in place, record moisture readings in every room, and hand the adjuster a complete package on arrival. That approach does not require professional equipment. A smartphone, a moisture meter from any hardware store, and a methodical room-by-room walkthrough will cover most residential assessments.
The technology gap matters most on roofs. You cannot safely inspect a wet roof after a storm, and you should not try. A drone or a pair of binoculars from the ground gives you enough to document visible damage without putting yourself at risk. If you suspect structural damage or significant water intrusion, call a professional before you enter the building.
My honest advice: treat your storm assessment like a legal deposition. Every photo, every reading, and every note is evidence. The more organized and thorough your record, the harder it is for anyone to dispute your claim.
— Thomasroofingandrepair
How Thomasroofingandrepair helps you after a storm
After a storm hits Central Florida, the last thing you need is guesswork. Thomasroofingandrepair provides professional storm damage inspections across Brevard, Volusia, and Orange counties, using calibrated moisture meters, thermal imaging, and drone-assisted roof surveys to build insurance-ready documentation fast.

Our team understands what adjusters look for and produces detailed reports that support claim approval. We also handle emergency roof repairs to stop active water intrusion and document every mitigation step for your insurer. Whether you need a full storm damage repair or a second opinion on an adjuster’s report, Thomasroofingandrepair delivers the expertise Central Florida homeowners rely on. Contact us today for a free inspection and get your claim moving in the right direction.
Key takeaways
A complete storm damage assessment workflow, executed within 24 hours and supported by calibrated tools and organized documentation, is the most reliable way to protect your insurance claim and restoration timeline.
| Point | Details |
|---|---|
| Start within 24 hours | Mold begins within 24–48 hours; early documentation protects your claim position. |
| Document before cleanup | Photograph all damage in place before touching or removing any materials. |
| Use calibrated technology | Moisture meters and thermal cameras detect hidden damage that photos miss. |
| Follow context-first photography | Wide-angle shots establish storm context before close-up detail shots. |
| Record every mitigation step | Documenting temporary repairs like tarping satisfies insurer mitigation requirements. |
FAQ
How soon should i start a storm damage assessment?
Start your assessment within 24 hours of the storm passing. Mold can develop within 24–48 hours of water intrusion, and early documentation gives your insurer the clearest evidence of storm-related damage.
Can i do a storm damage assessment myself?
Yes, homeowners can conduct a ground-level assessment using a smartphone, moisture meter, and binoculars. For roof damage or suspected structural issues, hire a professional inspector to avoid safety risks and ensure insurance-grade documentation.
What photos does my insurance company need?
Your insurer needs wide-angle context shots of each exterior face, close-up photos of every damage point, and interior shots showing water stains, structural damage, and any temporary repairs. Timestamped photos organized by location are the standard adjusters expect.
What happens if i clean up before documenting damage?
Cleaning up before documenting weakens your claim significantly. Insurers can argue the damage was pre-existing or caused by neglect rather than the storm. Always photograph and record everything before any cleanup or repair work begins.
Does FEMA require a formal damage assessment?
FEMA PDA guidelines require state and local partners to submit assessments within 30 days of an incident to determine disaster assistance eligibility. Homeowners should maintain their own detailed records to support both insurance claims and any FEMA assistance applications.