
Picture this: a summer storm rolls through Brevard County, rain hammers your roof for two hours, and by morning you’re staring at a brown stain spreading across your living room ceiling. The average water damage claim in Florida runs well over $10,000, and that number climbs fast when structural repairs enter the picture. The good news is that most leaks are preventable. This guide walks you through a proven, step-by-step workflow built specifically for Central Florida homeowners with aging roofs, so you can stop leaks before they start and face storm season with real confidence.
Table of Contents
- Why proactive roof leak prevention matters in Central Florida
- What you need for an effective roof leak prevention workflow
- The five-step workflow to prevent roof leaks
- How to verify success and avoid common mistakes
- Maintaining your leak prevention routine year-round
- Get expert support for roof leak prevention and repairs
- Frequently asked questions
Key Takeaways
| Point | Details |
|---|---|
| Annual workflow importance | A step-by-step workflow greatly lowers your roof leak risk in Florida’s climate. |
| Essential tools and routine | Using the right tools and a regular schedule is key to catching issues early. |
| Professional support value | Expert inspections and maintenance boost your protection and peace of mind. |
| Documentation matters | Keeping photo and checklist records helps with insurance and uncovering hidden leaks. |
Why proactive roof leak prevention matters in Central Florida
Central Florida is not a forgiving climate for roofs. Between June and November, homeowners deal with Florida storm risks that include tropical systems, daily afternoon thunderstorms, and sustained high humidity. That combination punishes roofing materials faster than almost anywhere else in the country.
One of the most dangerous myths floating around neighborhoods is “no leak, no problem.” In reality, small issues like lifted shingles, cracked flashing (the metal strips that seal roof edges and joints), and clogged gutters are silently building toward a major failure. By the time water appears on your ceiling, damage has often been accumulating for months.
Here is what Central Florida homeowners are actually dealing with:
- Accelerated material wear from UV exposure and heat cycling
- Wind uplift during tropical storms that loosens shingles and tiles
- Mold growth triggered by trapped moisture in humid attic spaces
- Rising insurance deductibles for water damage claims, especially on older roofs
- Compounding repair costs when small problems go unaddressed
“Florida’s mix of heavy rain, wind, and sun rapidly accelerates roof wear and tear.”
The roof inspection benefits for Central Florida homeowners go beyond just catching leaks. Regular inspections protect your insurance standing, extend roof life, and give you documented proof of maintenance if a claim ever comes up. Now that you know what’s truly at stake, let’s make sure you’re equipped to tackle prevention the right way.
What you need for an effective roof leak prevention workflow
Before you climb a ladder or pick up a caulk gun, you need the right gear. Rushing onto a roof without proper tools is how minor maintenance turns into an emergency room visit. Having the right supplies increases both safety and effectiveness in roof maintenance.
Essential tools and materials:
| Category | Items needed |
|---|---|
| Safety gear | Non-slip shoes, work gloves, safety harness, helmet |
| Inspection tools | Ladder, binoculars, flashlight, chalk or marking tape |
| Repair materials | Roofing sealant, caulk, replacement shingles or tiles |
| Documentation | Smartphone for photos, printed inspection checklist |
| Emergency contacts | Local roofer number, insurance hotline |
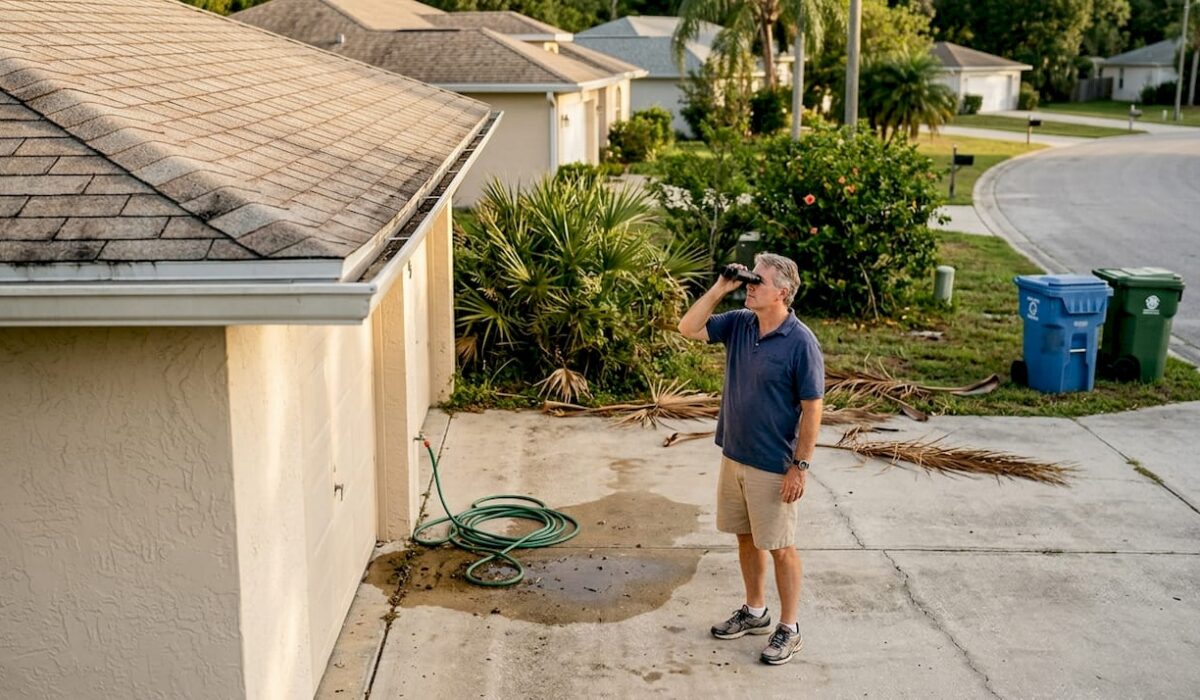
Binoculars deserve a special mention here. You can survey a large portion of your roof surface safely from the ground before ever setting foot on a ladder. This is especially useful for steep-pitch roofs common in Florida subdivisions.
Pro Tip: Save your roofer’s number and your insurance agent’s number in your phone under “Roof Emergency” before storm season begins. When a storm hits at 2 a.m., you will not want to be searching for contact information.
For the roof maintenance steps that follow, having everything staged and ready before you start saves time and reduces the temptation to skip steps. With supplies gathered, you’re ready to follow the workflow that prevents leaks before they start.
The five-step workflow to prevent roof leaks
This workflow is designed to move from the inside out, starting where early damage signals are easiest to spot. Routine inspection and timely repairs dramatically reduce major leak risks, and this sequence makes sure nothing gets missed.
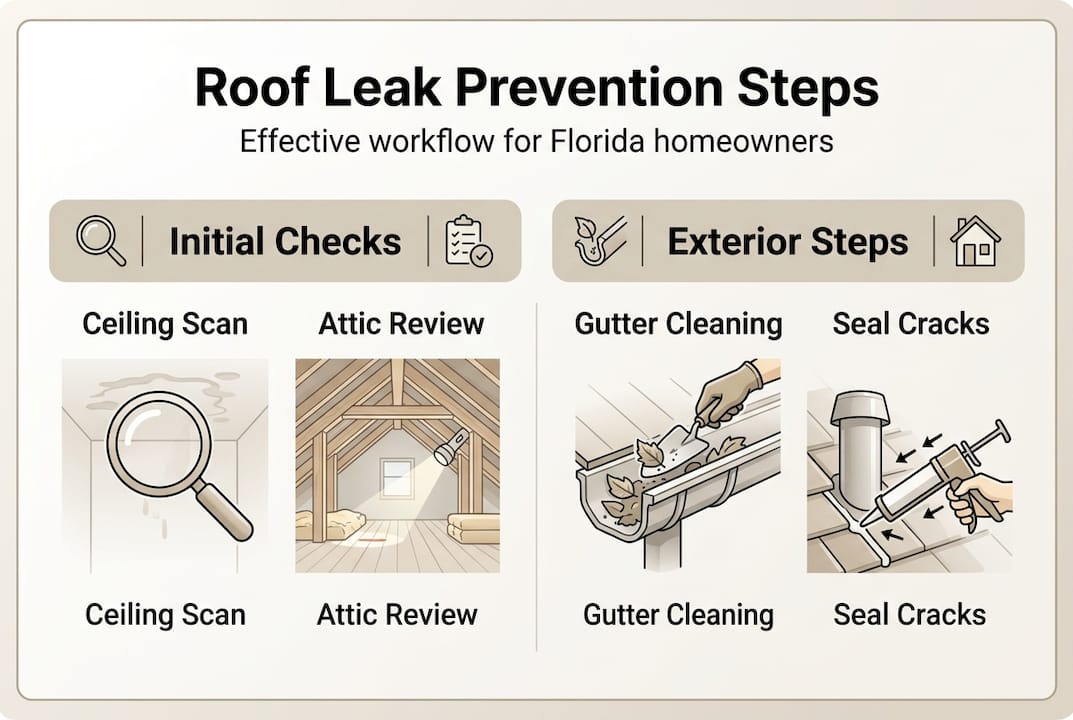
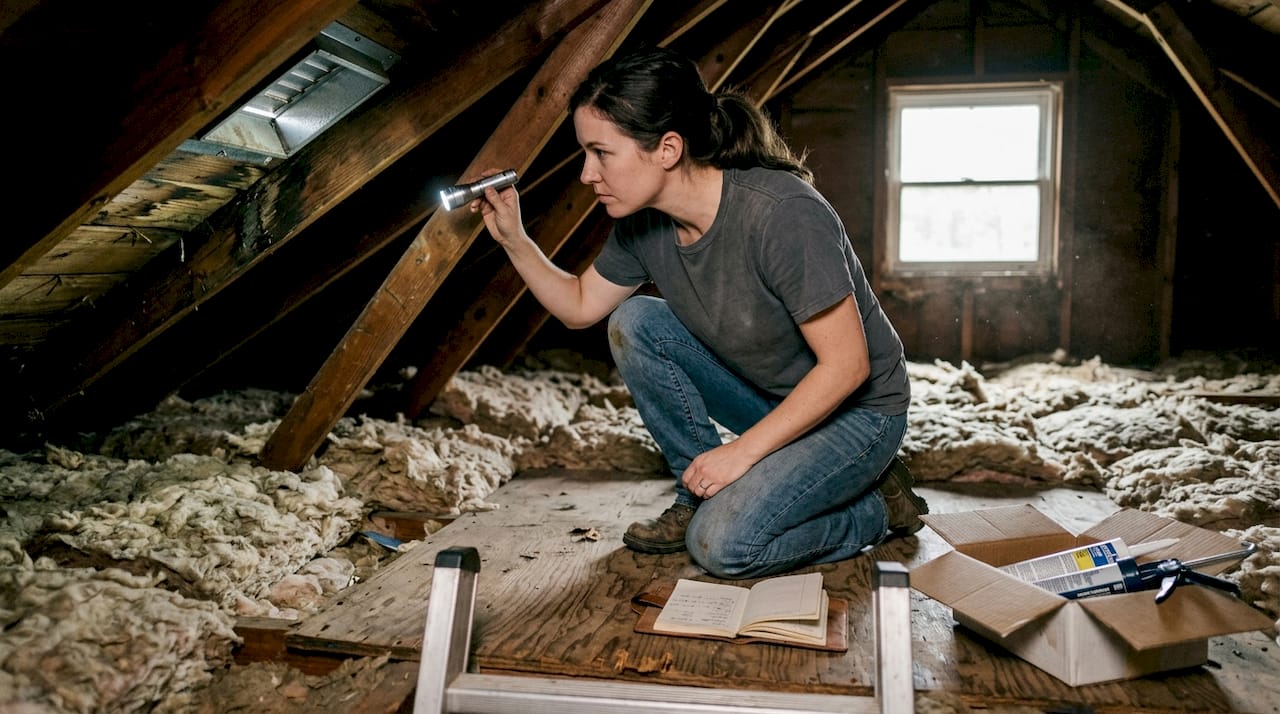
Step 1: Inspect interior ceilings and attic first
Start inside your home. Look at every ceiling for discoloration, bubbling paint, or soft spots. Then go into the attic with your flashlight and look for water stains on the decking (the wooden boards under your shingles), daylight coming through gaps, or any sign of mold. The attic tells the truth about what is happening above.
Step 2: Survey the roof surface for visible damage
Using binoculars from the ground first, then a ladder for closer inspection, look for:
- Missing, cracked, or curling shingles
- Damaged or lifted flashing around chimneys, vents, and skylights
- Granule loss on asphalt shingles (granules are the gritty coating that protects against UV)
- Moss or algae growth, which traps moisture against the surface
Use chalk to mark problem areas so you can find them again easily. Check your roof inspection tips for a complete visual guide on what to look for by roof type.
Step 3: Clean gutters and roof valleys
Clogged gutters are one of the top causes of water intrusion along rooflines. Water that cannot drain backs up under shingles and into fascia boards (the boards that run along the lower edge of the roof). Clean gutters completely, flush downspouts with a hose, and clear any debris from roof valleys (the V-shaped channels where two roof slopes meet).
Step 4: Seal small cracks and suspect areas immediately
Do not wait on small repairs. Apply roofing sealant around any cracked flashing, exposed nail heads, or gaps around vents. Use caulk rated for exterior roofing use. Prompt leak detection is critical for Florida homeowners because what starts as a hairline crack can become a full breach after one heavy storm.
Step 5: Schedule a professional evaluation annually
Your eyes can catch a lot, but a trained roofer sees things that homeowners routinely miss, especially around flashing joints and under lifted shingles. Book at least one professional inspection per year, ideally before hurricane season in June. Review the full roof maintenance checklist to make sure your annual inspection covers every critical area.
| Step | DIY or pro | Frequency |
|---|---|---|
| Attic and ceiling check | DIY | Quarterly |
| Roof surface survey | DIY | Quarterly and after storms |
| Gutter and valley cleaning | DIY | Twice yearly minimum |
| Sealant and minor repairs | DIY | As needed |
| Full professional inspection | Pro | Annually |
Pro Tip: After any storm with winds above 40 mph, run through steps 1 and 2 within 48 hours. Wind damage often looks minor on the surface but creates entry points for the next rain event.
After following these core steps, you’re set to verify your results and plan for long-term protection.
How to verify success and avoid common mistakes
Completing the workflow is not the finish line. You need to confirm your repairs actually held and watch for signs that something was missed. Missing subtle damage often leads to costly storm season repairs, so verification is not optional.
To test your repairs, run a garden hose over the repaired area for several minutes while someone watches the attic interior. This simulates rain and reveals whether water is still finding a path through. It is a simple test that saves a lot of guesswork.
Common DIY mistakes to avoid:
- Skipping flashing checks around chimneys and vents, which are the most frequent leak sources
- Ignoring vent pipe seals, which crack and shrink in Florida heat over time
- Using the wrong sealant, such as interior caulk on exterior surfaces
- Not photographing repairs, which leaves you without documentation for insurance
- Assuming a dry attic means no problem, since some leaks travel along rafters before dripping
“The signs that tell you it’s time to call a professional include repeated leaks in the same area, visible structural sag in the roof deck, or large water stains that appear after every rain.”
If you see any of those signs, stop DIY work and consult the roof repair guide for next steps. Protecting your home requires dedication, and now see why a scheduled routine sets you up for storm season confidence.
Maintaining your leak prevention routine year-round
A one-time inspection is better than nothing, but a scheduled routine is what actually protects an aging roof in Florida. Florida’s wet and hurricane seasons make routine maintenance essential, not optional.
Here is how to build a sustainable schedule:
- January/February: Post-winter inspection, check for any cold-season damage and clear debris
- April/May: Pre-hurricane season inspection, complete all repairs before June 1
- After each named storm: Run through steps 1 and 2 of the workflow within 48 hours
- October/November: Post-hurricane season review, document condition for year-end records
Track every maintenance session in a simple log. Note the date, what you inspected, what you found, and what you repaired or left for a professional. This log becomes valuable evidence if you ever file an insurance claim.
For ongoing roof maintenance on aging roofs specifically, re-evaluate your workflow every year. Materials that were in good shape at age 10 may need more frequent attention at age 18. Check hurricane season readiness resources from the National Weather Service to align your prep timeline with official storm season forecasts. You’ve built a system, and now discover ways trusted pros can support or supplement your efforts.
Get expert support for roof leak prevention and repairs
Even the most diligent homeowner has limits. A professional eye catches what a flashlight and binoculars cannot, especially on complex rooflines, around aging flashing, and in areas where two roof planes meet at unusual angles.

At Thomas Roofing and Repair, we serve homeowners across Brevard, Volusia, and Orange counties with inspections, rapid repairs, and full maintenance planning. Our certified teams handle everything from emergency roof repair workflow situations after a major storm to scheduled visits that keep your roof maintenance process on track all year. If a storm has already hit your area, our storm damage repair guide walks you through what to expect and how we can help fast. Contact us today for a free estimate and let’s protect your home before the next storm arrives.
Frequently asked questions
How often should I inspect my roof to prevent leaks?
Inspect your roof at least quarterly and after every severe storm. Routine seasonal inspections reduce water intrusion risk significantly for Central Florida homeowners.
What are the early signs of a roof leak I might miss?
Mild ceiling stains, a musty smell in the attic, and curling shingles are often the first indicators. Subtle interior and exterior signs frequently appear well before a visible drip ever forms.
Can DIY roof maintenance void my warranty?
Yes, improper DIY repairs can void a manufacturer’s warranty or a contractor’s workmanship guarantee. Always review your warranty terms before starting any repair work on your own.
What should I do after a major storm hits my area?
Document your roof’s condition with photos immediately, inspect for visible damage from the ground, and contact a professional if you spot anything concerning. Prompt post-storm action limits long-term water damage and strengthens any insurance claim you may need to file.